The most useful way to plan bathroom vanity lighting is to stop asking which fixture looks best and ask what the light needs to do. At the sink, there are usually three separate jobs: put usable light on the face, give the room enough ambient light to move around comfortably, and add a closer task source when shaving, skincare or makeup needs more detail. One fixture can sometimes cover two of those jobs. It rarely covers all three equally well.
That is why a bathroom with a glowing LED mirror can still feel dim at the face, while a simpler mirror with two well-placed sconces can be easier to use. The glow and the task light may be coming from different directions.
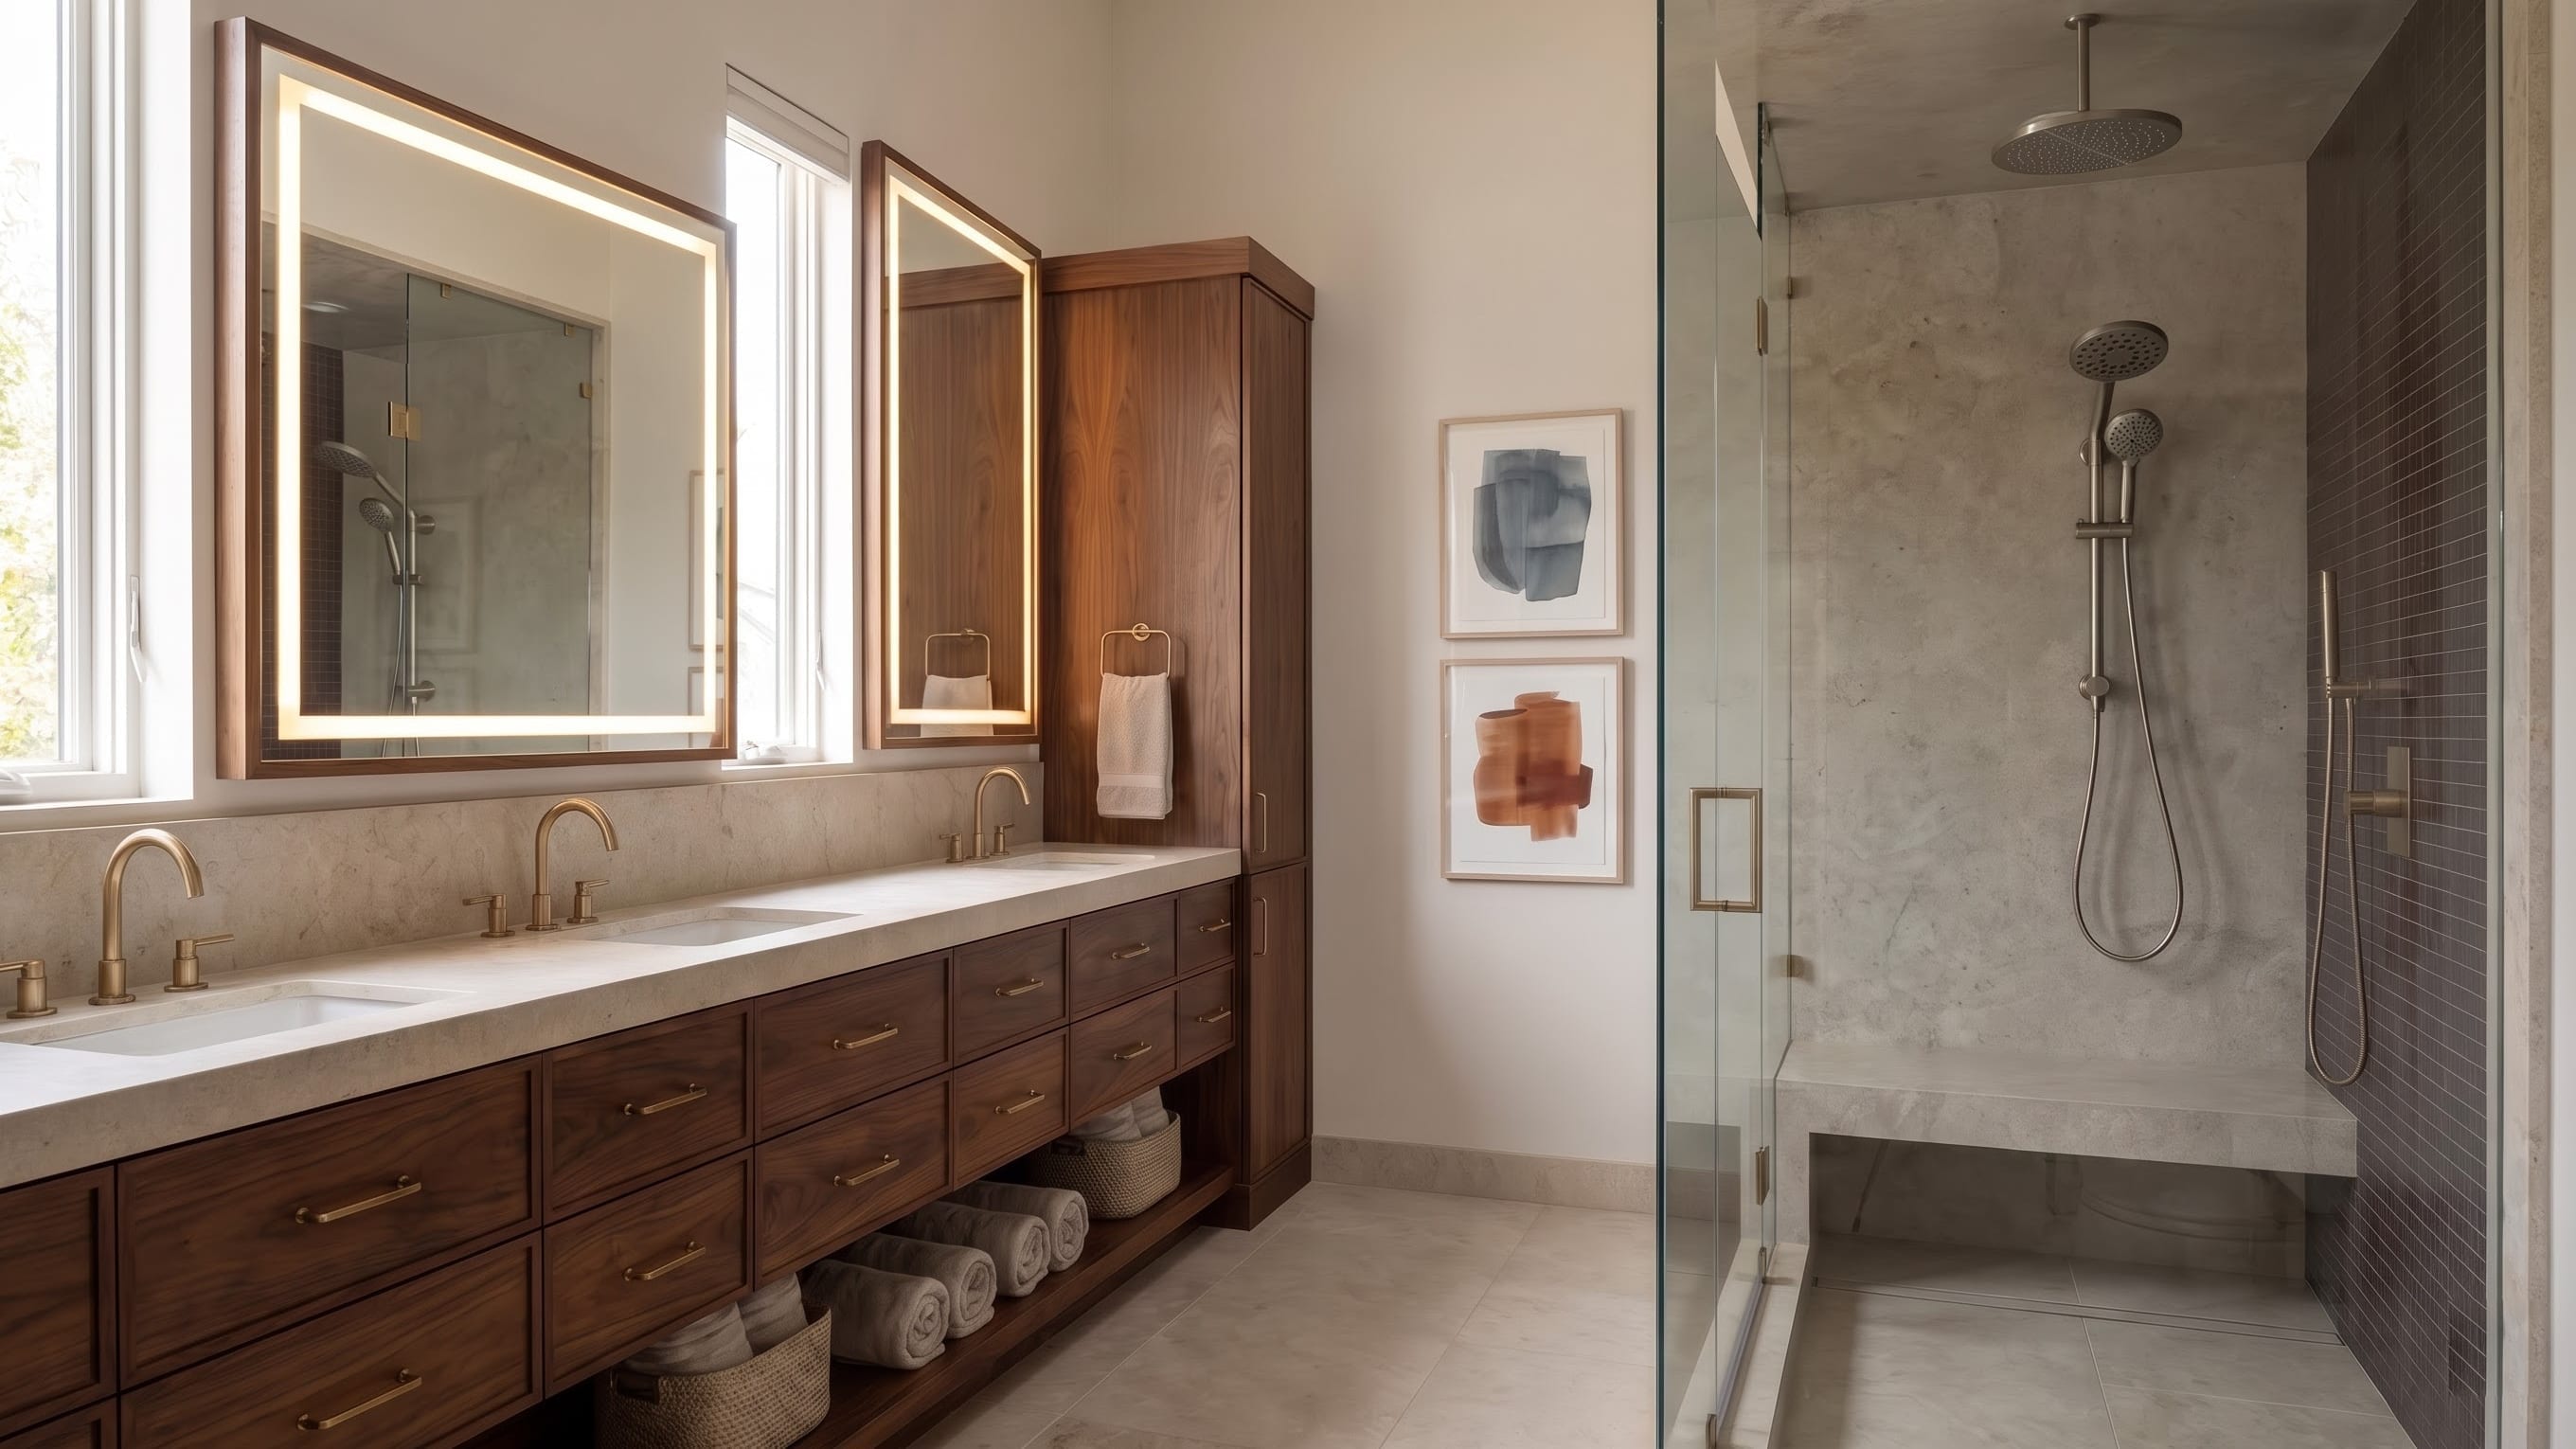
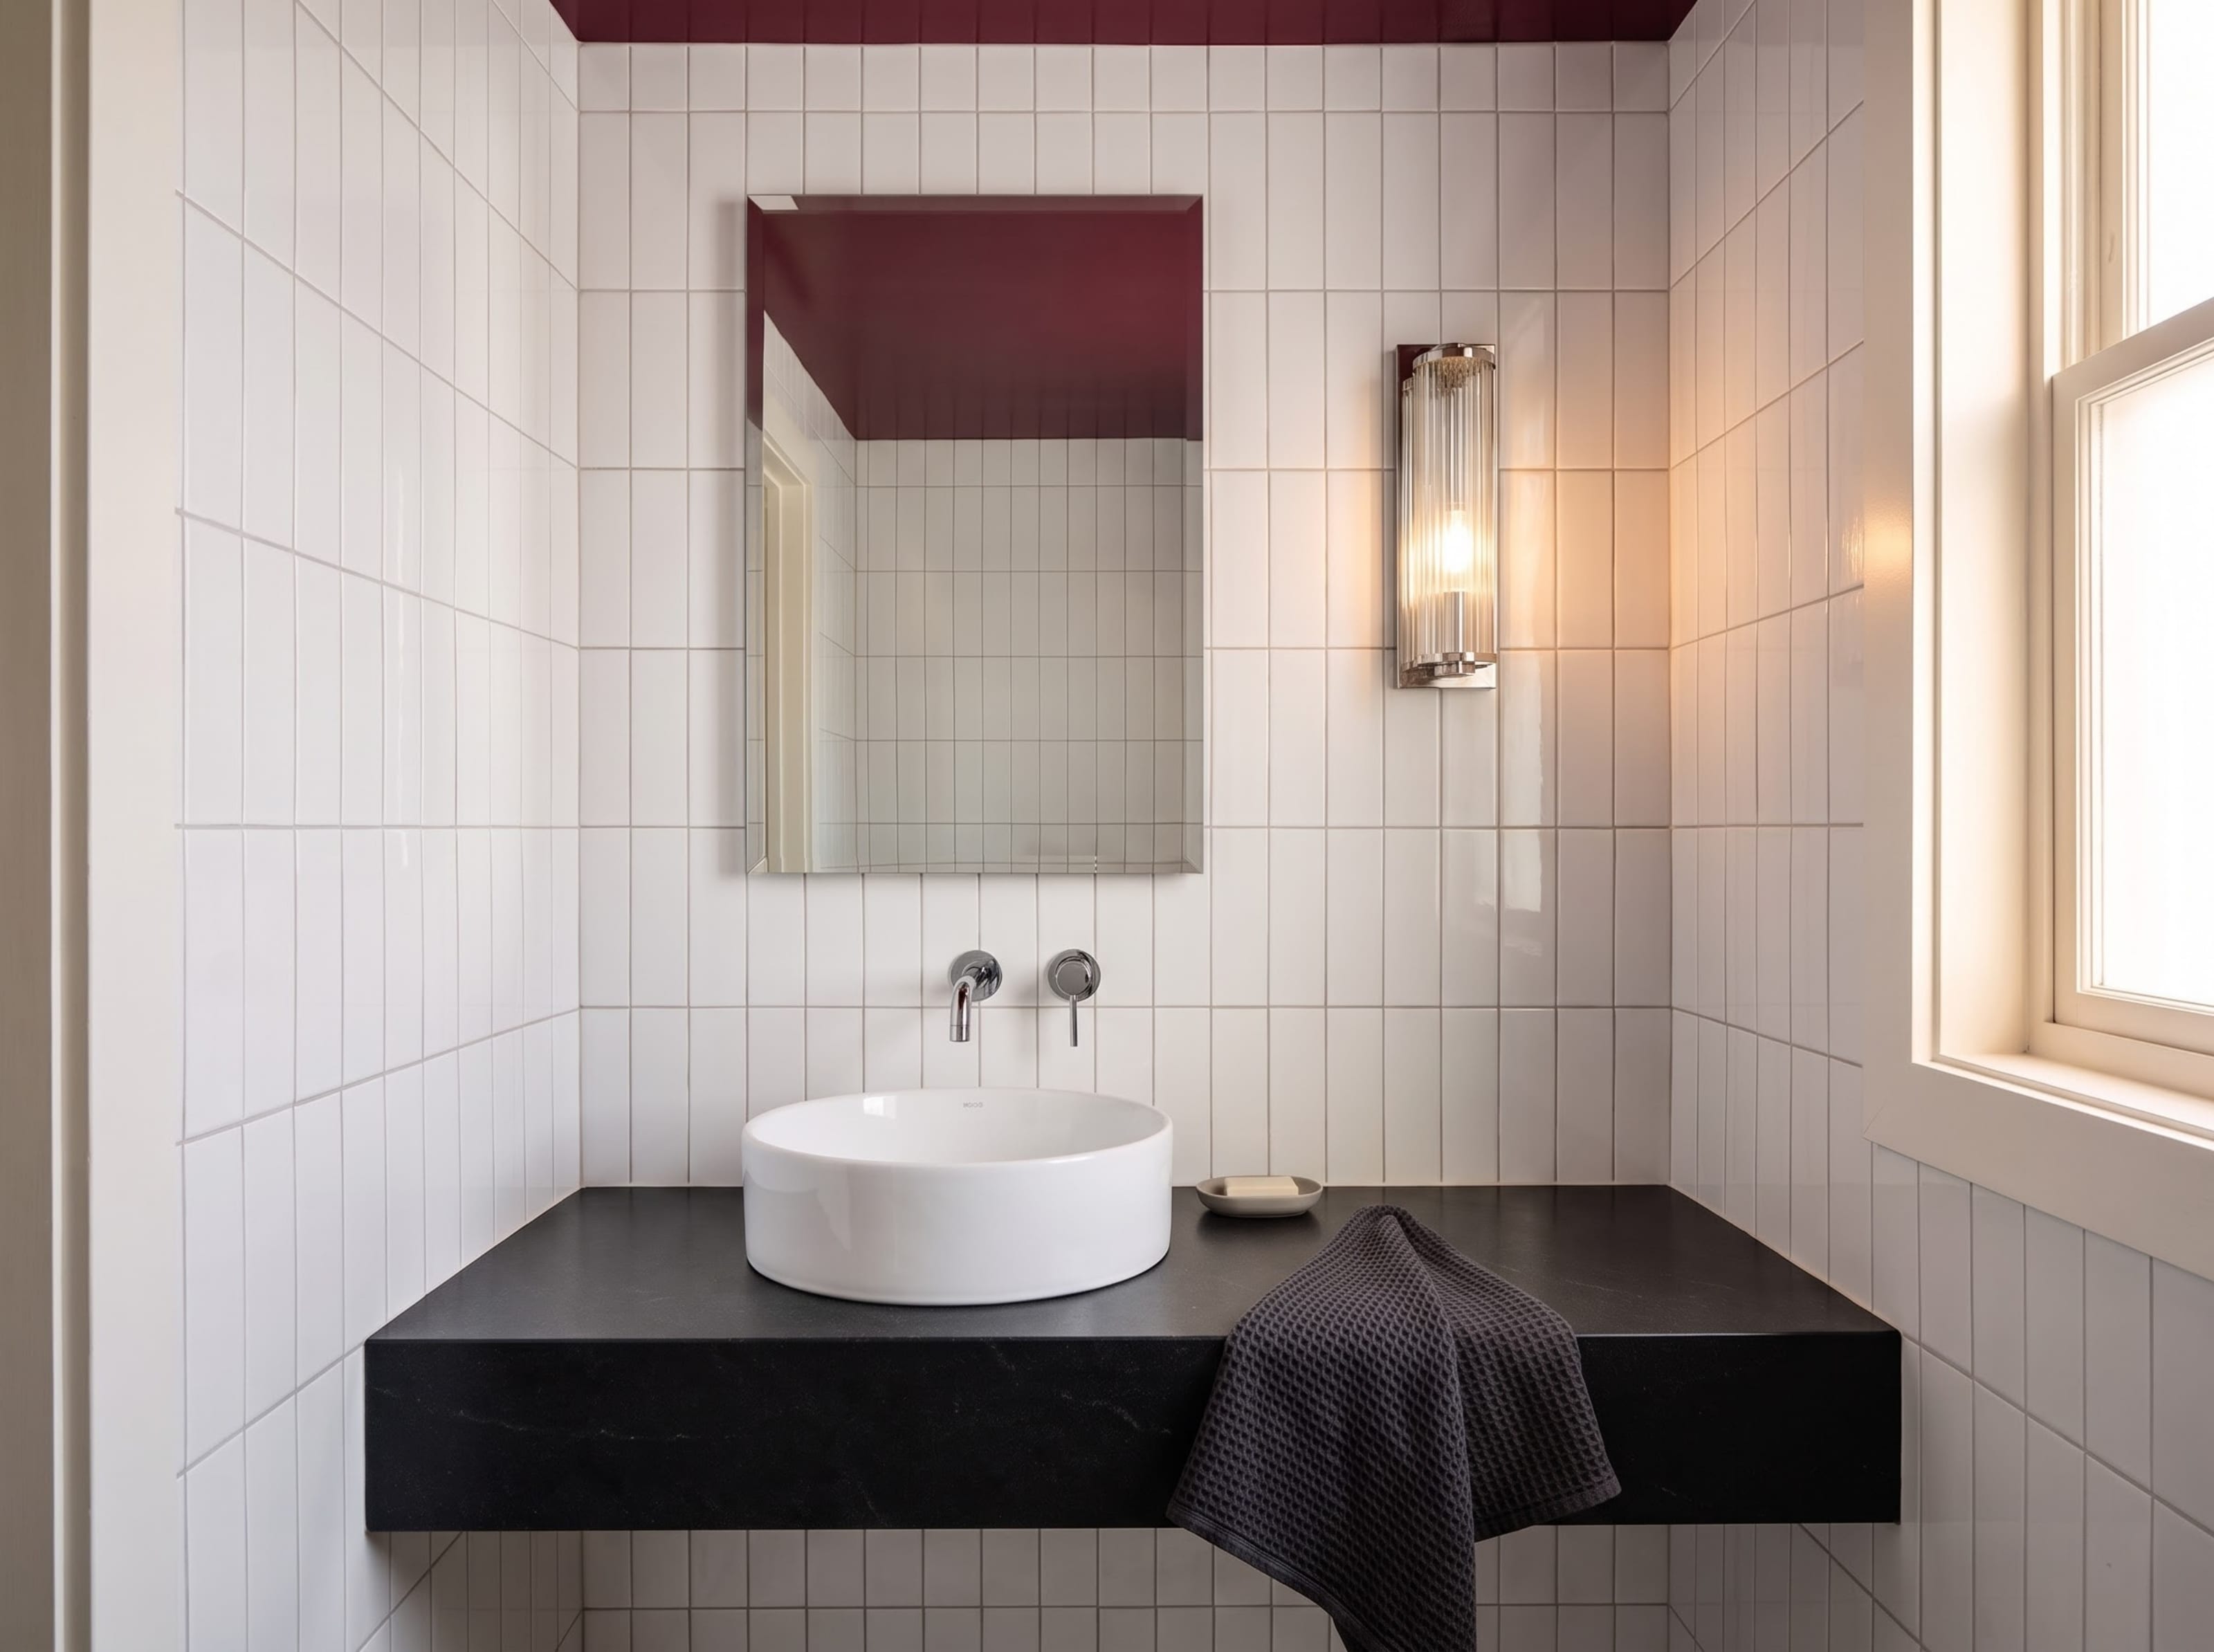
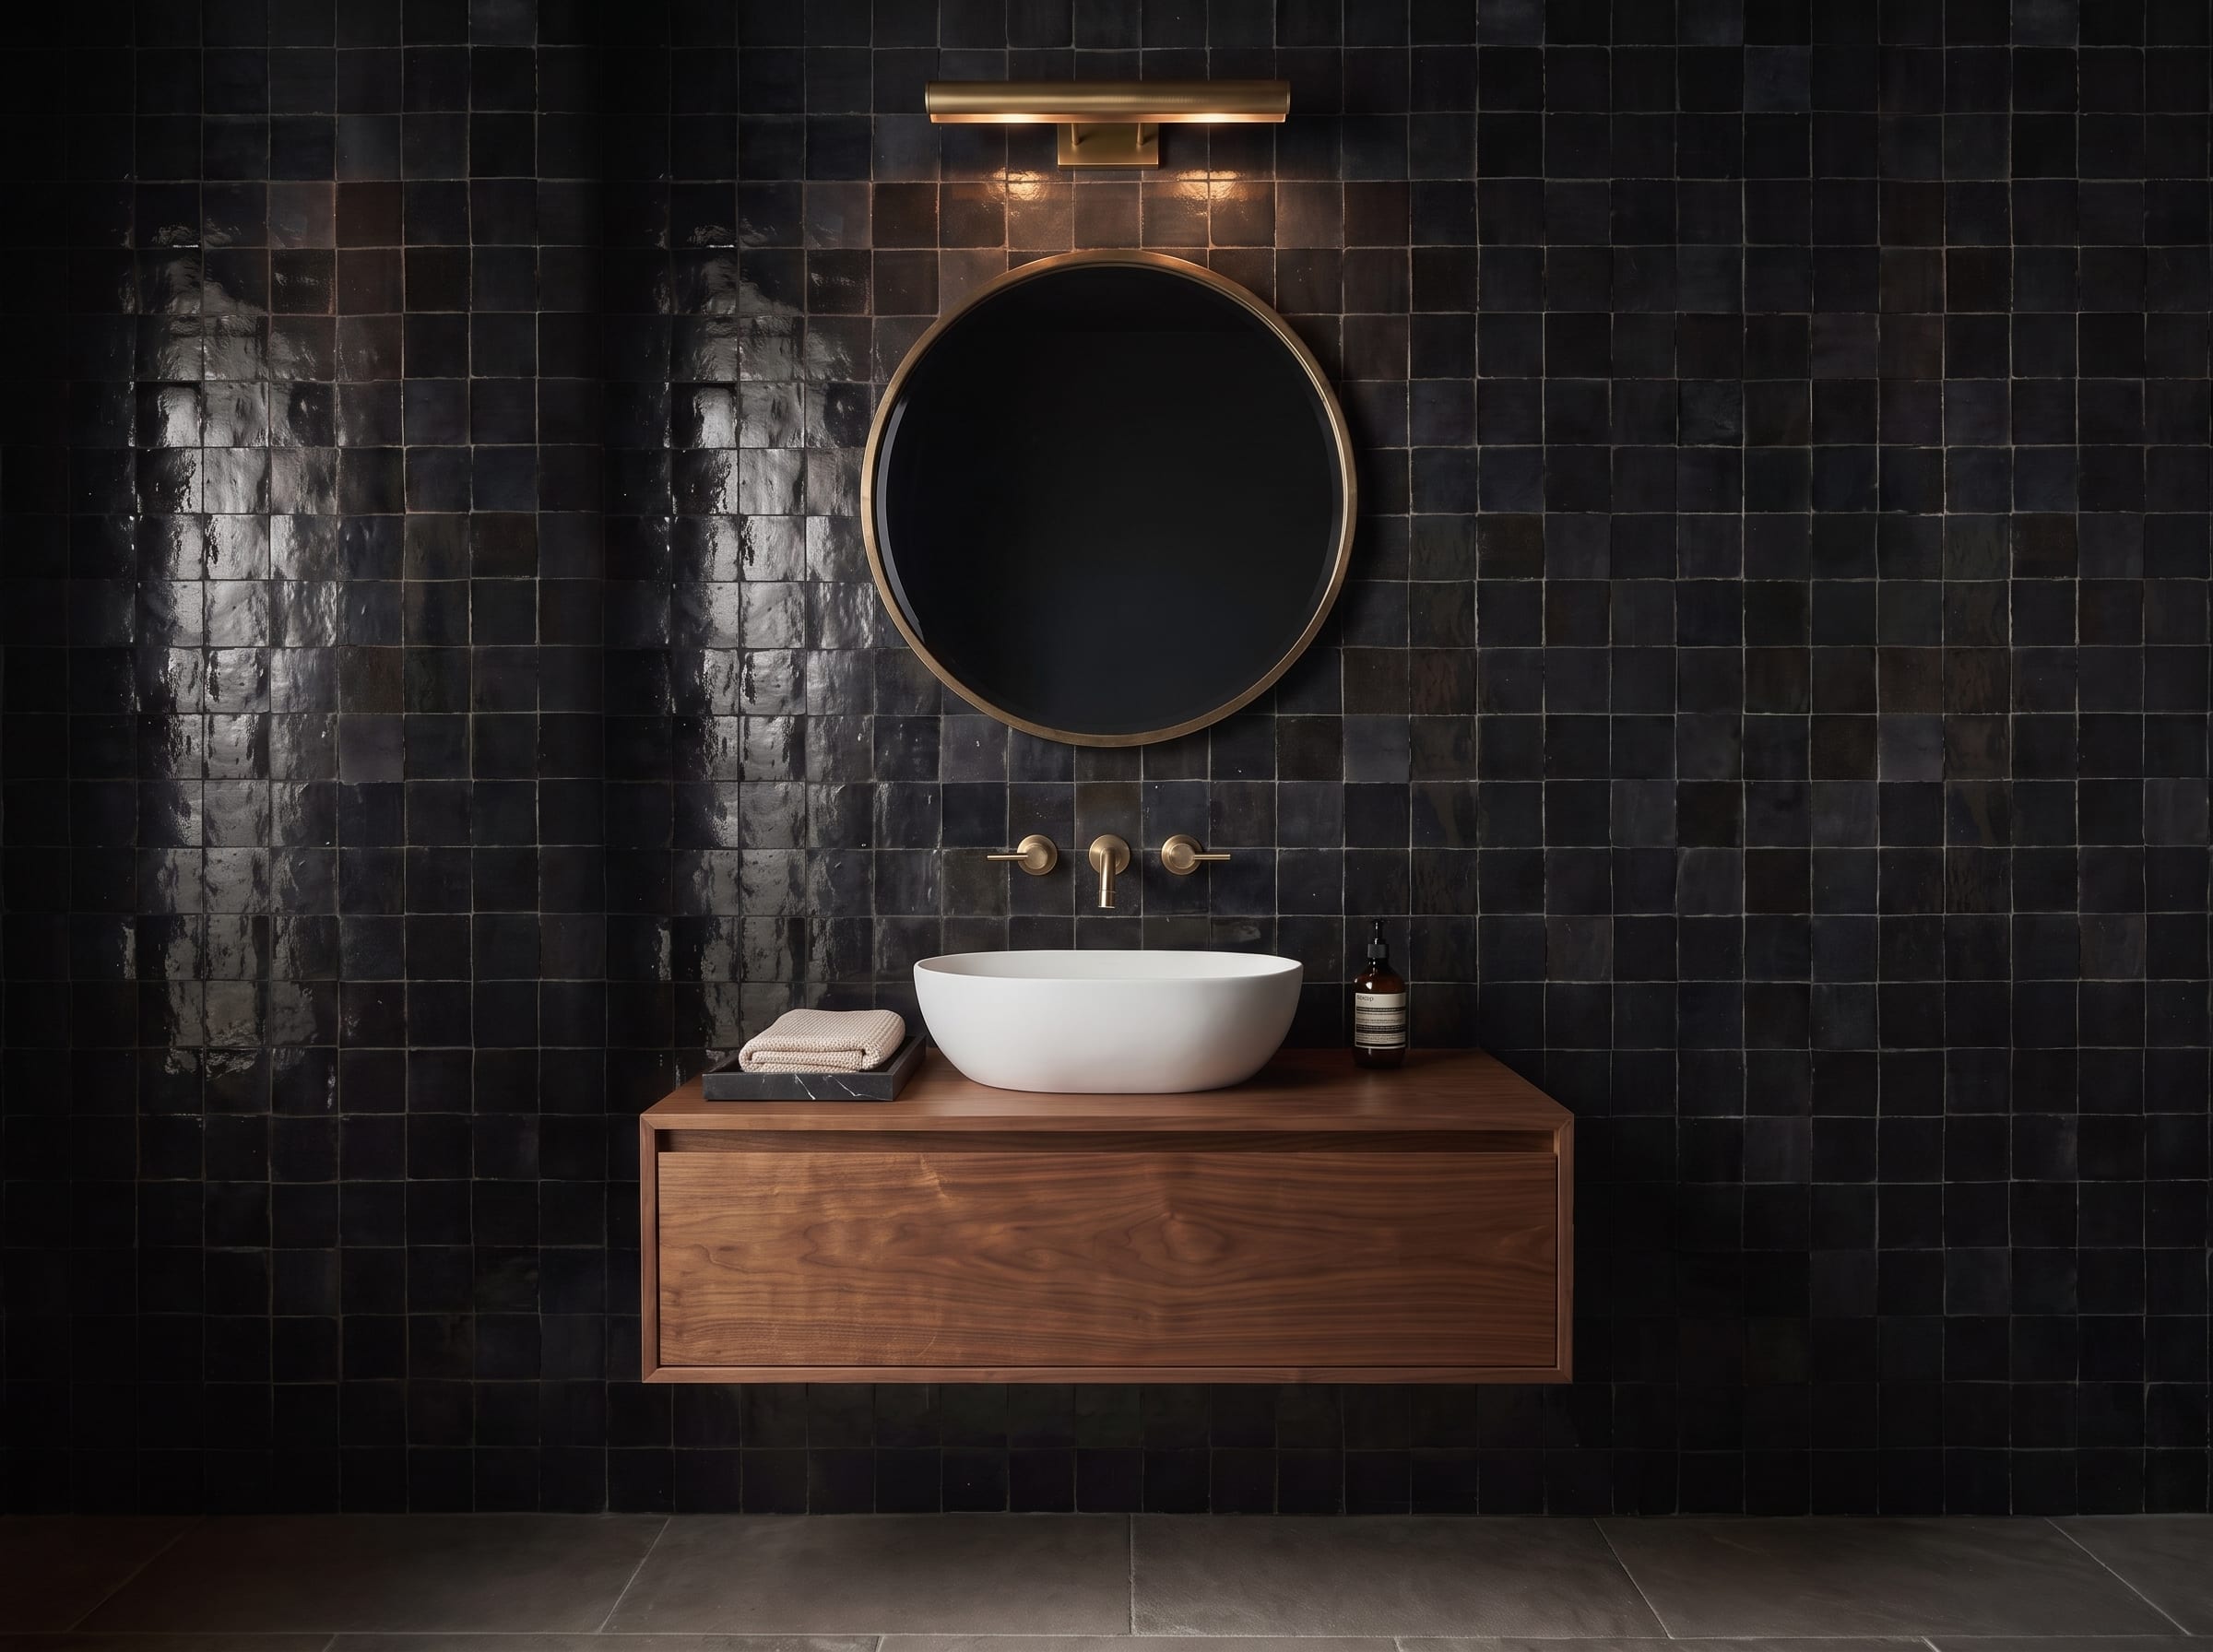
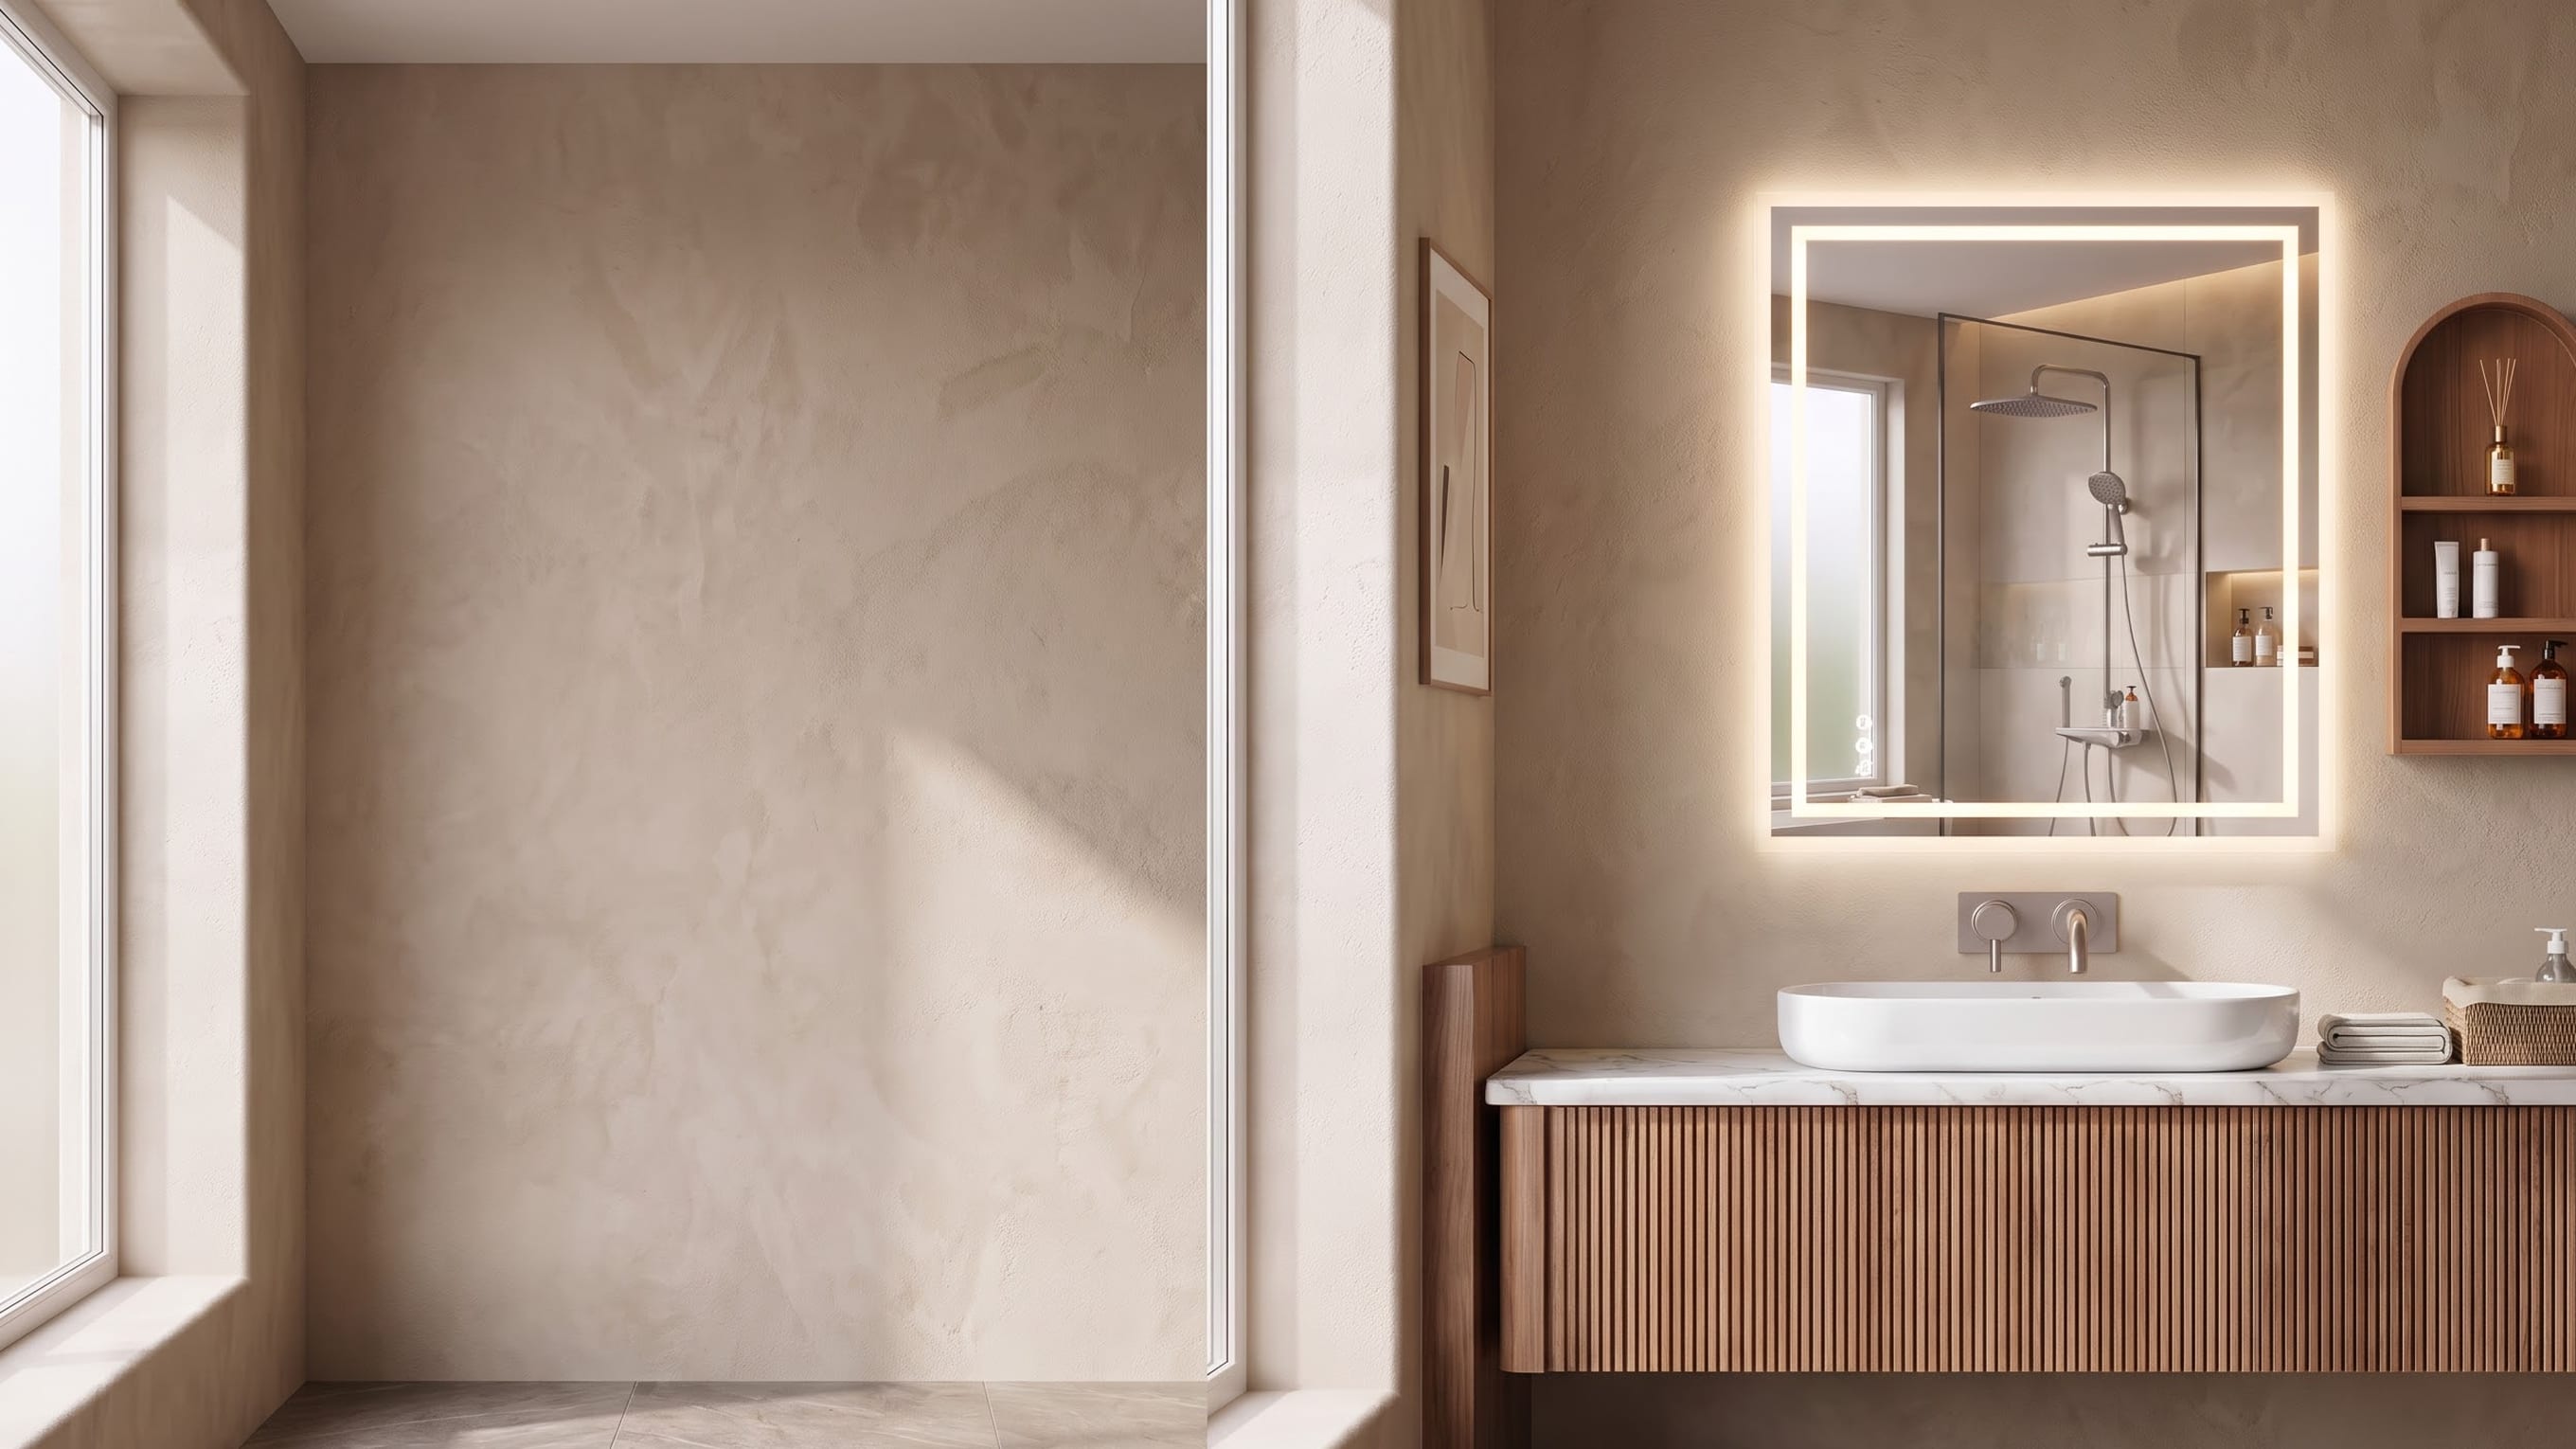
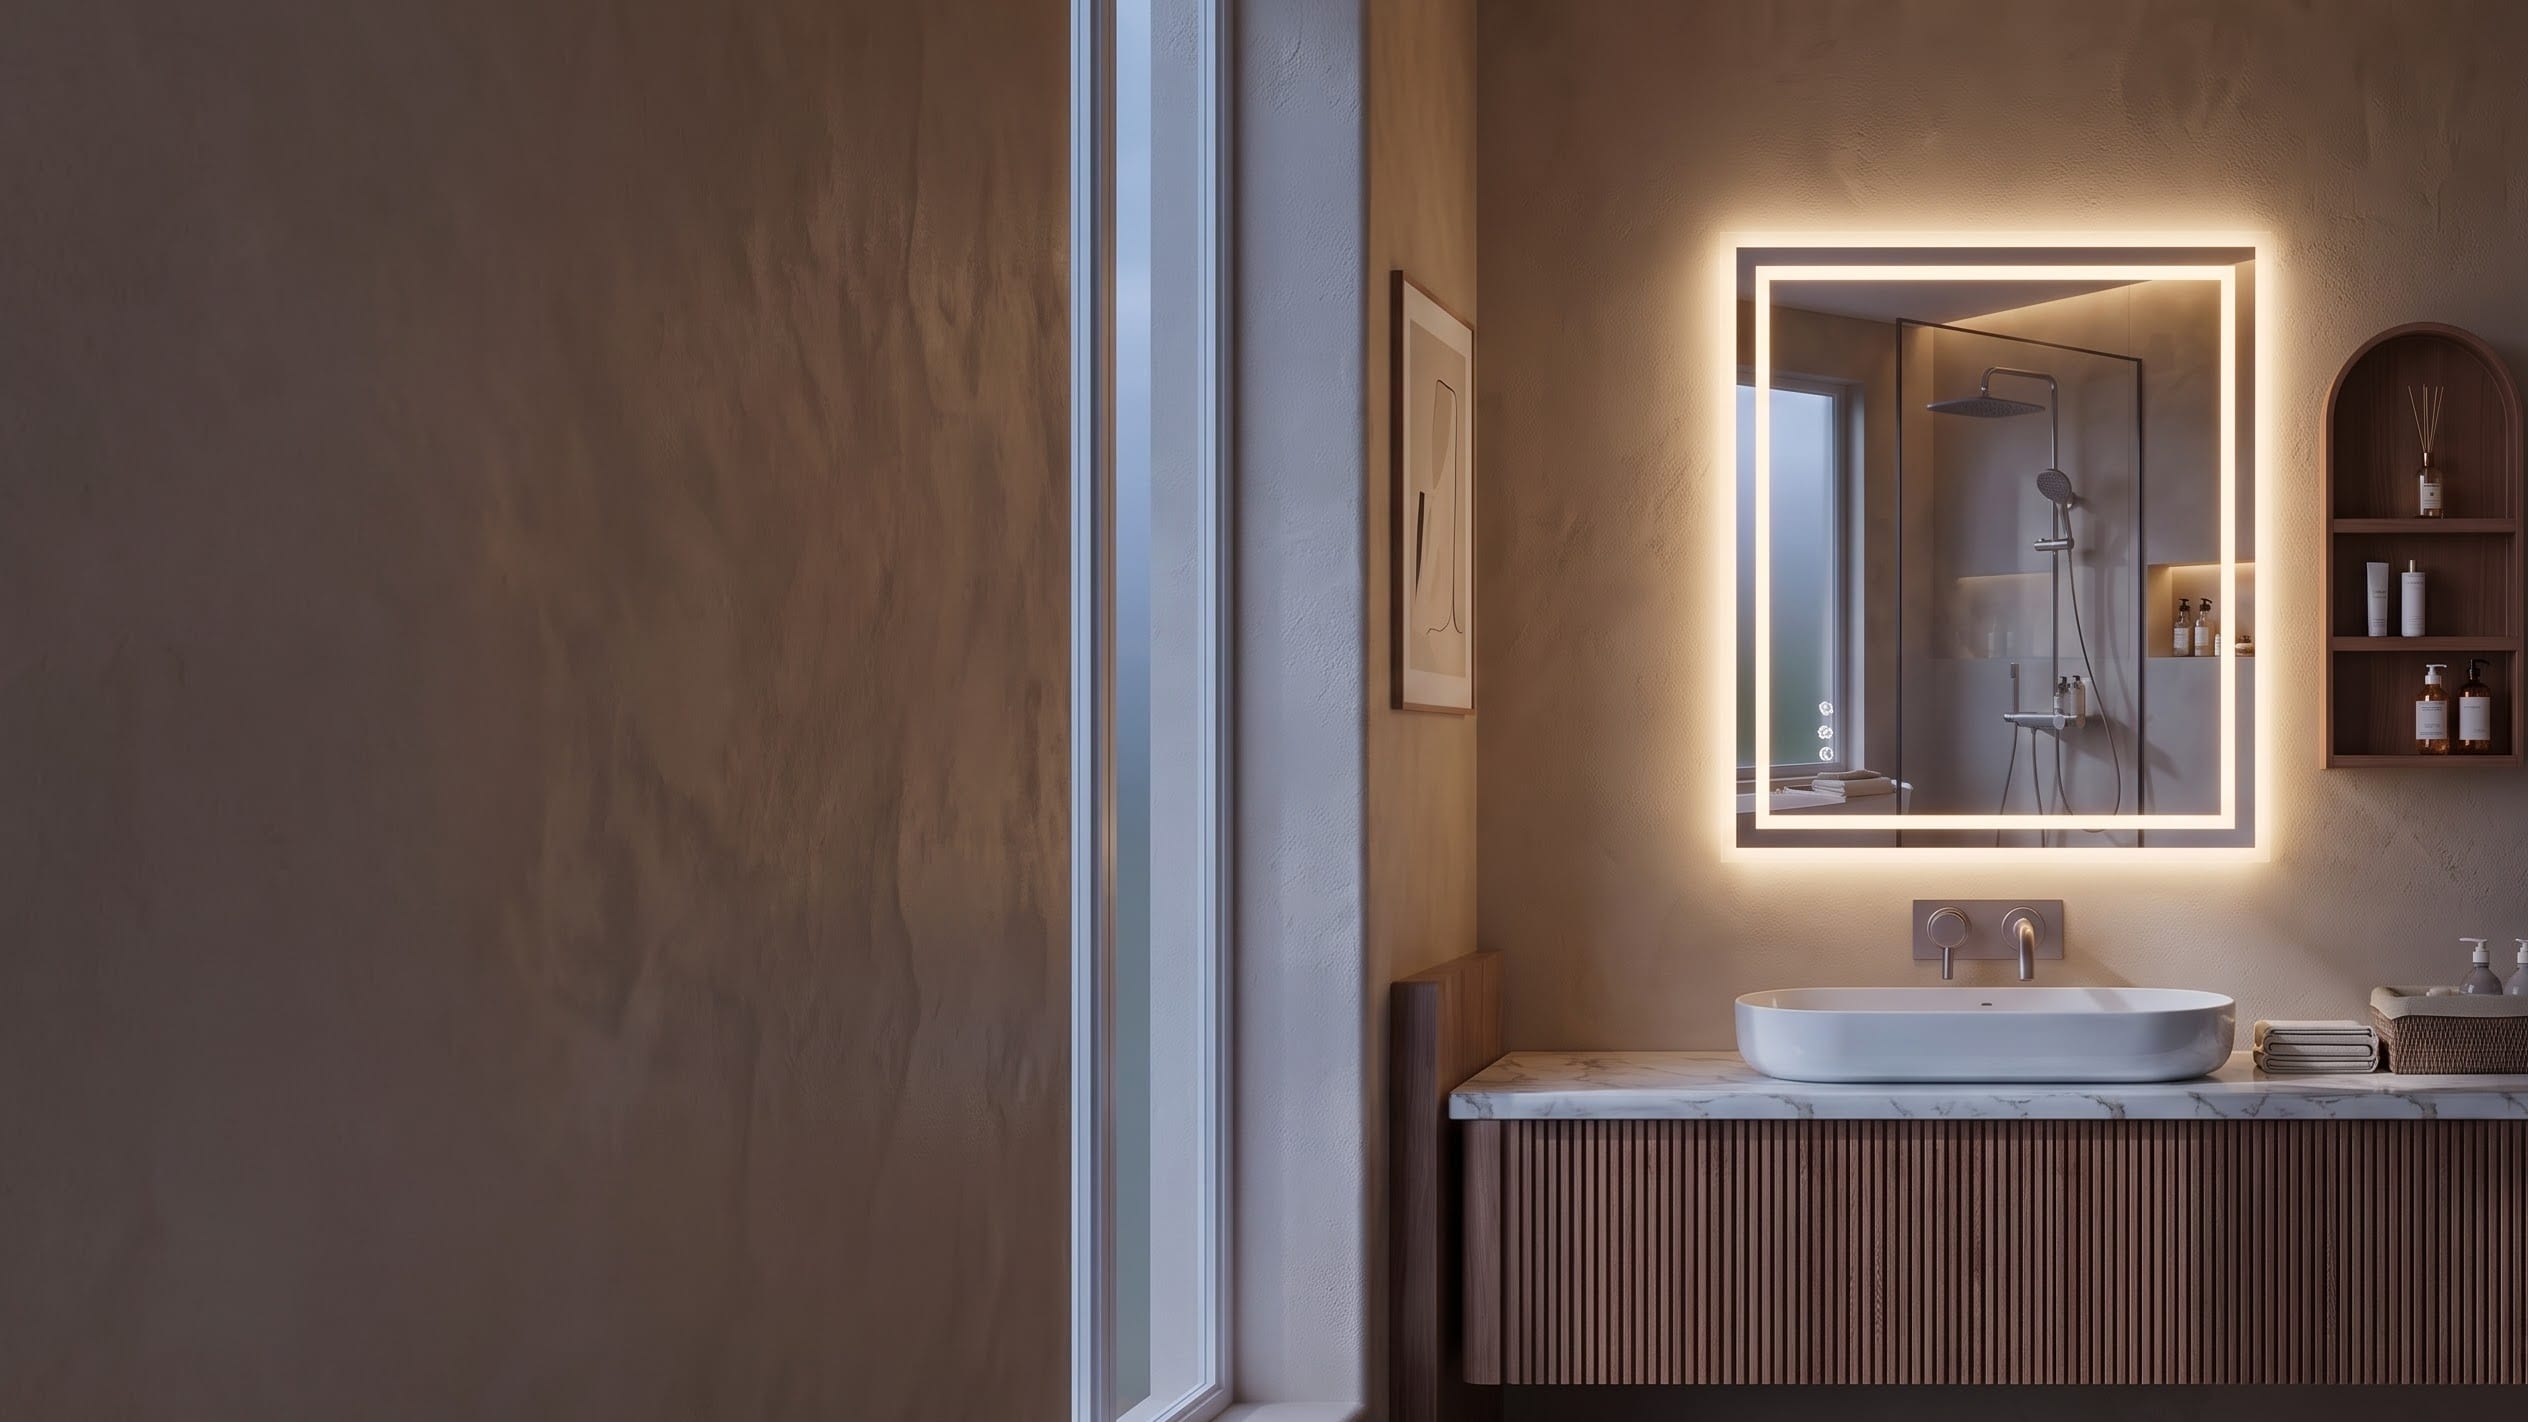
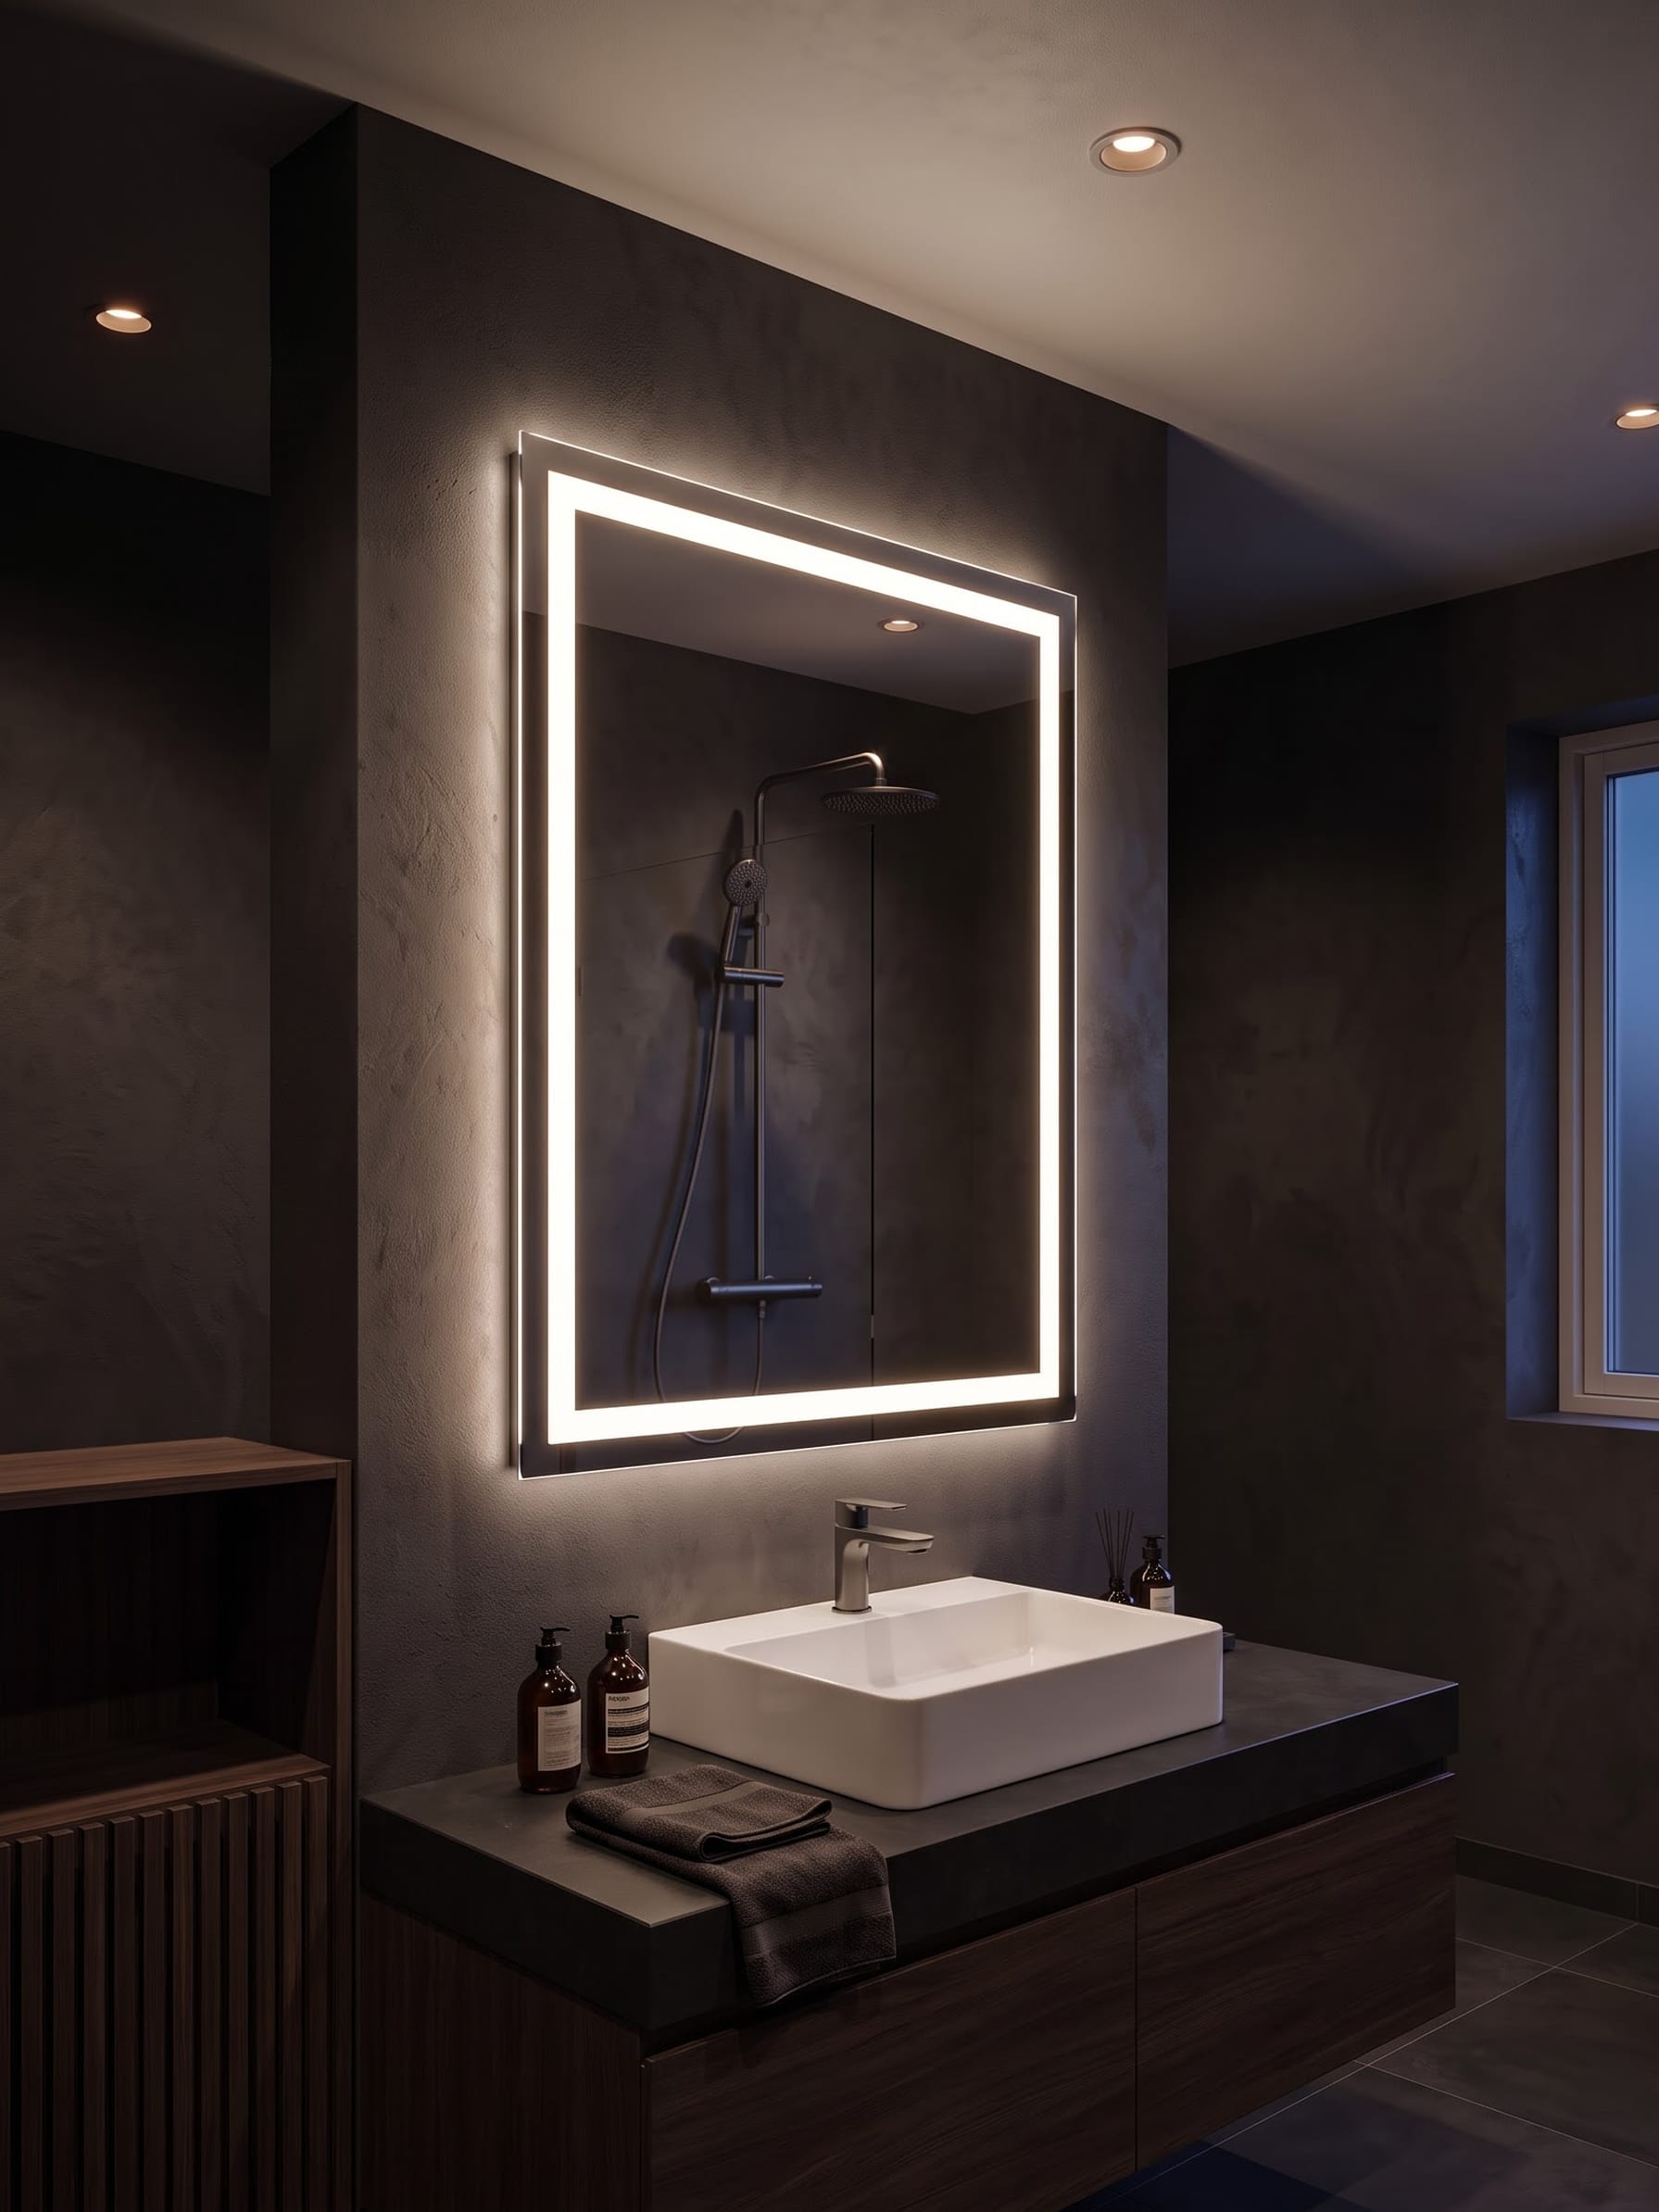
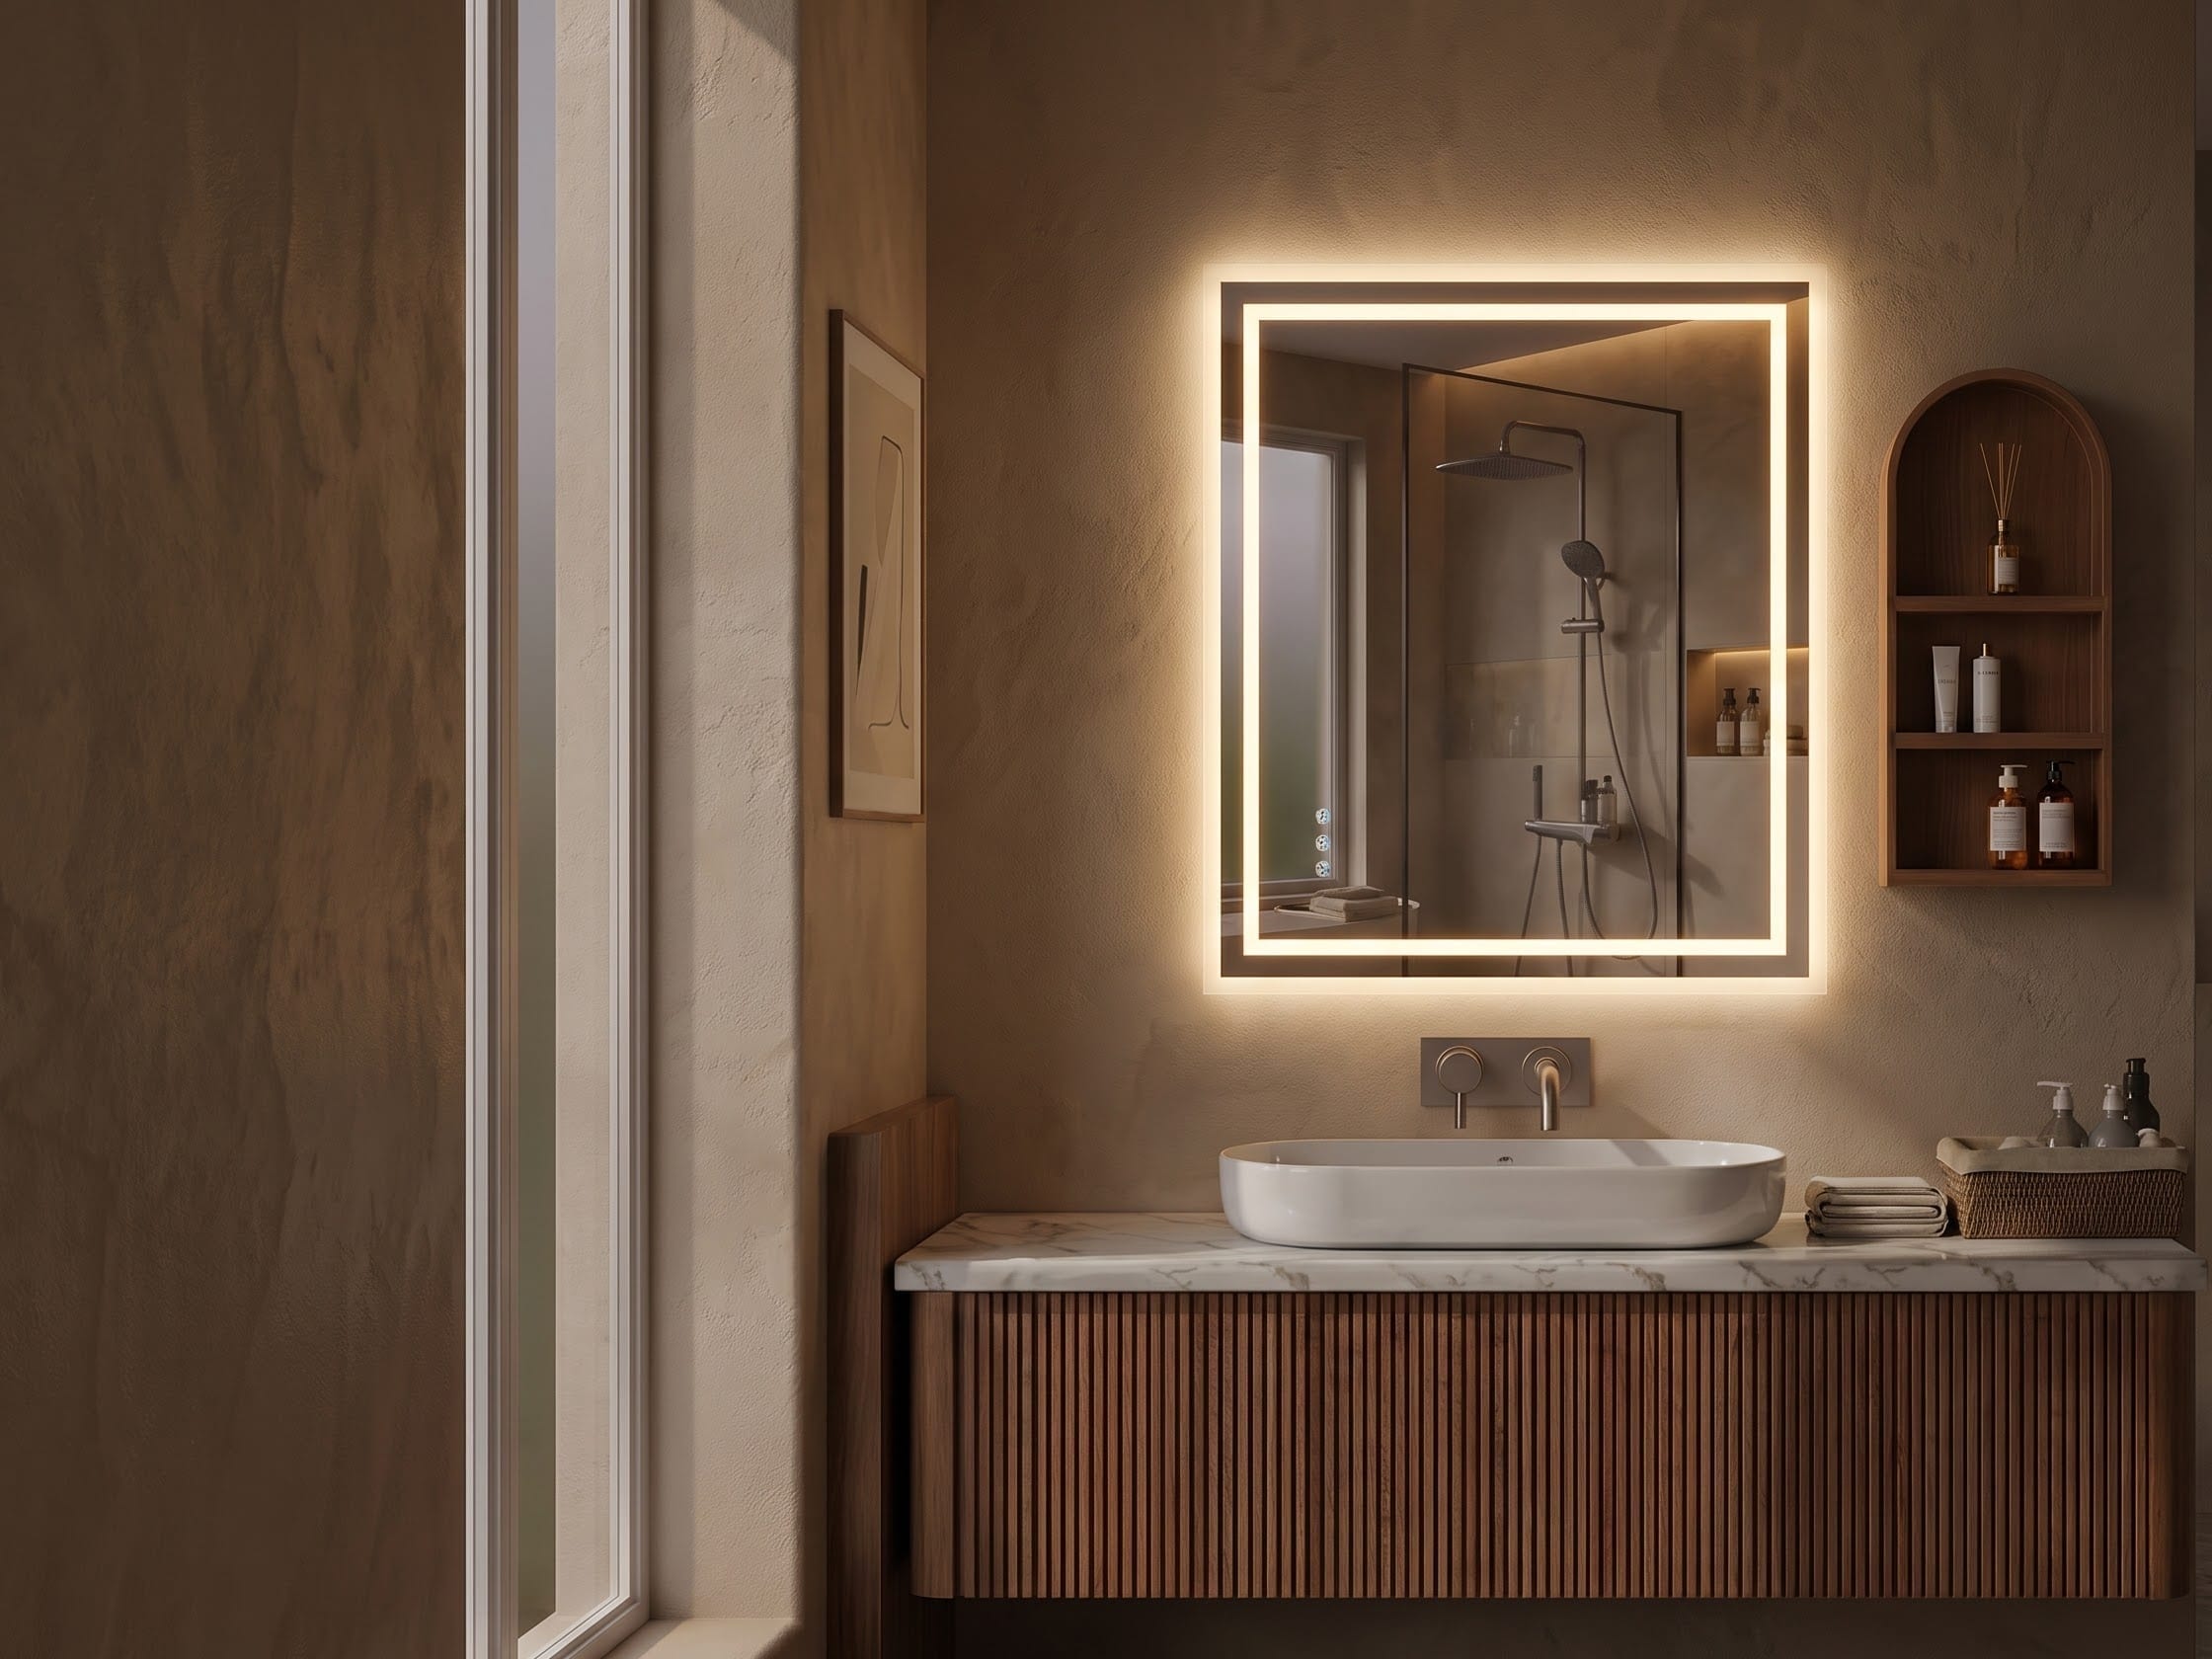
The room at the top of this guide uses an illuminated mirror as part of a larger lighting composition. The opening image takes the opposite condition: a darker bathroom where the mirror carries much more of the visual atmosphere. Those two rooms are useful together because they show the same point from different ends. A bright perimeter is easy to notice. Useful facial light is something you have to plan.
Quick answer: Start with the mirror and the way you use the sink. Side sconces are strong when you have wall space beside the mirror. A forward-lit or dual-lit mirror can handle task lighting when its actual output, color quality and coverage are good enough. A bar above the mirror is a practical answer when side space is tight. Backlighting is best treated as an ambient layer unless the mirror also sends light forward. Add a magnifying mirror only when a close task really needs it.
First, separate the lighting jobs
“Vanity light” sounds like one category, but the light at a sink can arrive in several ways. The difference matters because direction changes what you see in the mirror.
| Lighting layer | What it does well | What to check before buying |
|---|---|---|
| Backlit mirror | Soft wall glow, depth, evening ambience | Whether it also has forward-facing task light |
| Front-lit or dual-lit mirror | Direct light toward the face; compact wall composition | CRI, color temperature, dimming, actual output and diffusion |
| Side sconces | Light from both sides of the face | Mirror width, wall space, fixture projection and glare |
| Light bar above mirror | Works where side space is limited; easy centered composition | Luminous width, diffusion and whether another source is needed |
| Lighted medicine cabinet | Mirror, light and storage in one element | Cabinet depth, door swing, rough-in, wiring and mounting method |
| Magnifying mirror | Close grooming and detail work | Reach, magnification, charging/power and where it folds away |
Kohler’s current explanation of backlit versus front-lit LED mirrors is a useful distinction: light hidden behind the mirror produces a halo on the wall, while front-facing light is directed toward the person at the sink. Product listings sometimes blur those terms, so the photographs are not enough. Read how the light is actually built and where it throws light.
A dual-lit mirror can combine both effects. That can be a clean solution in a narrow bathroom, especially when there is no useful wall area for sconces. It does not mean every illuminated mirror can replace every sconce pair. The fixture still has to provide enough forward light for the way the bathroom is used.
Side sconces solve a geometry problem
The reason side sconces work well at a vanity is straightforward: they bring light in from the left and right instead of relying on one source above the forehead. That can reduce the deeper shadows created under the brow, nose and chin by a ceiling light or a single high fixture.
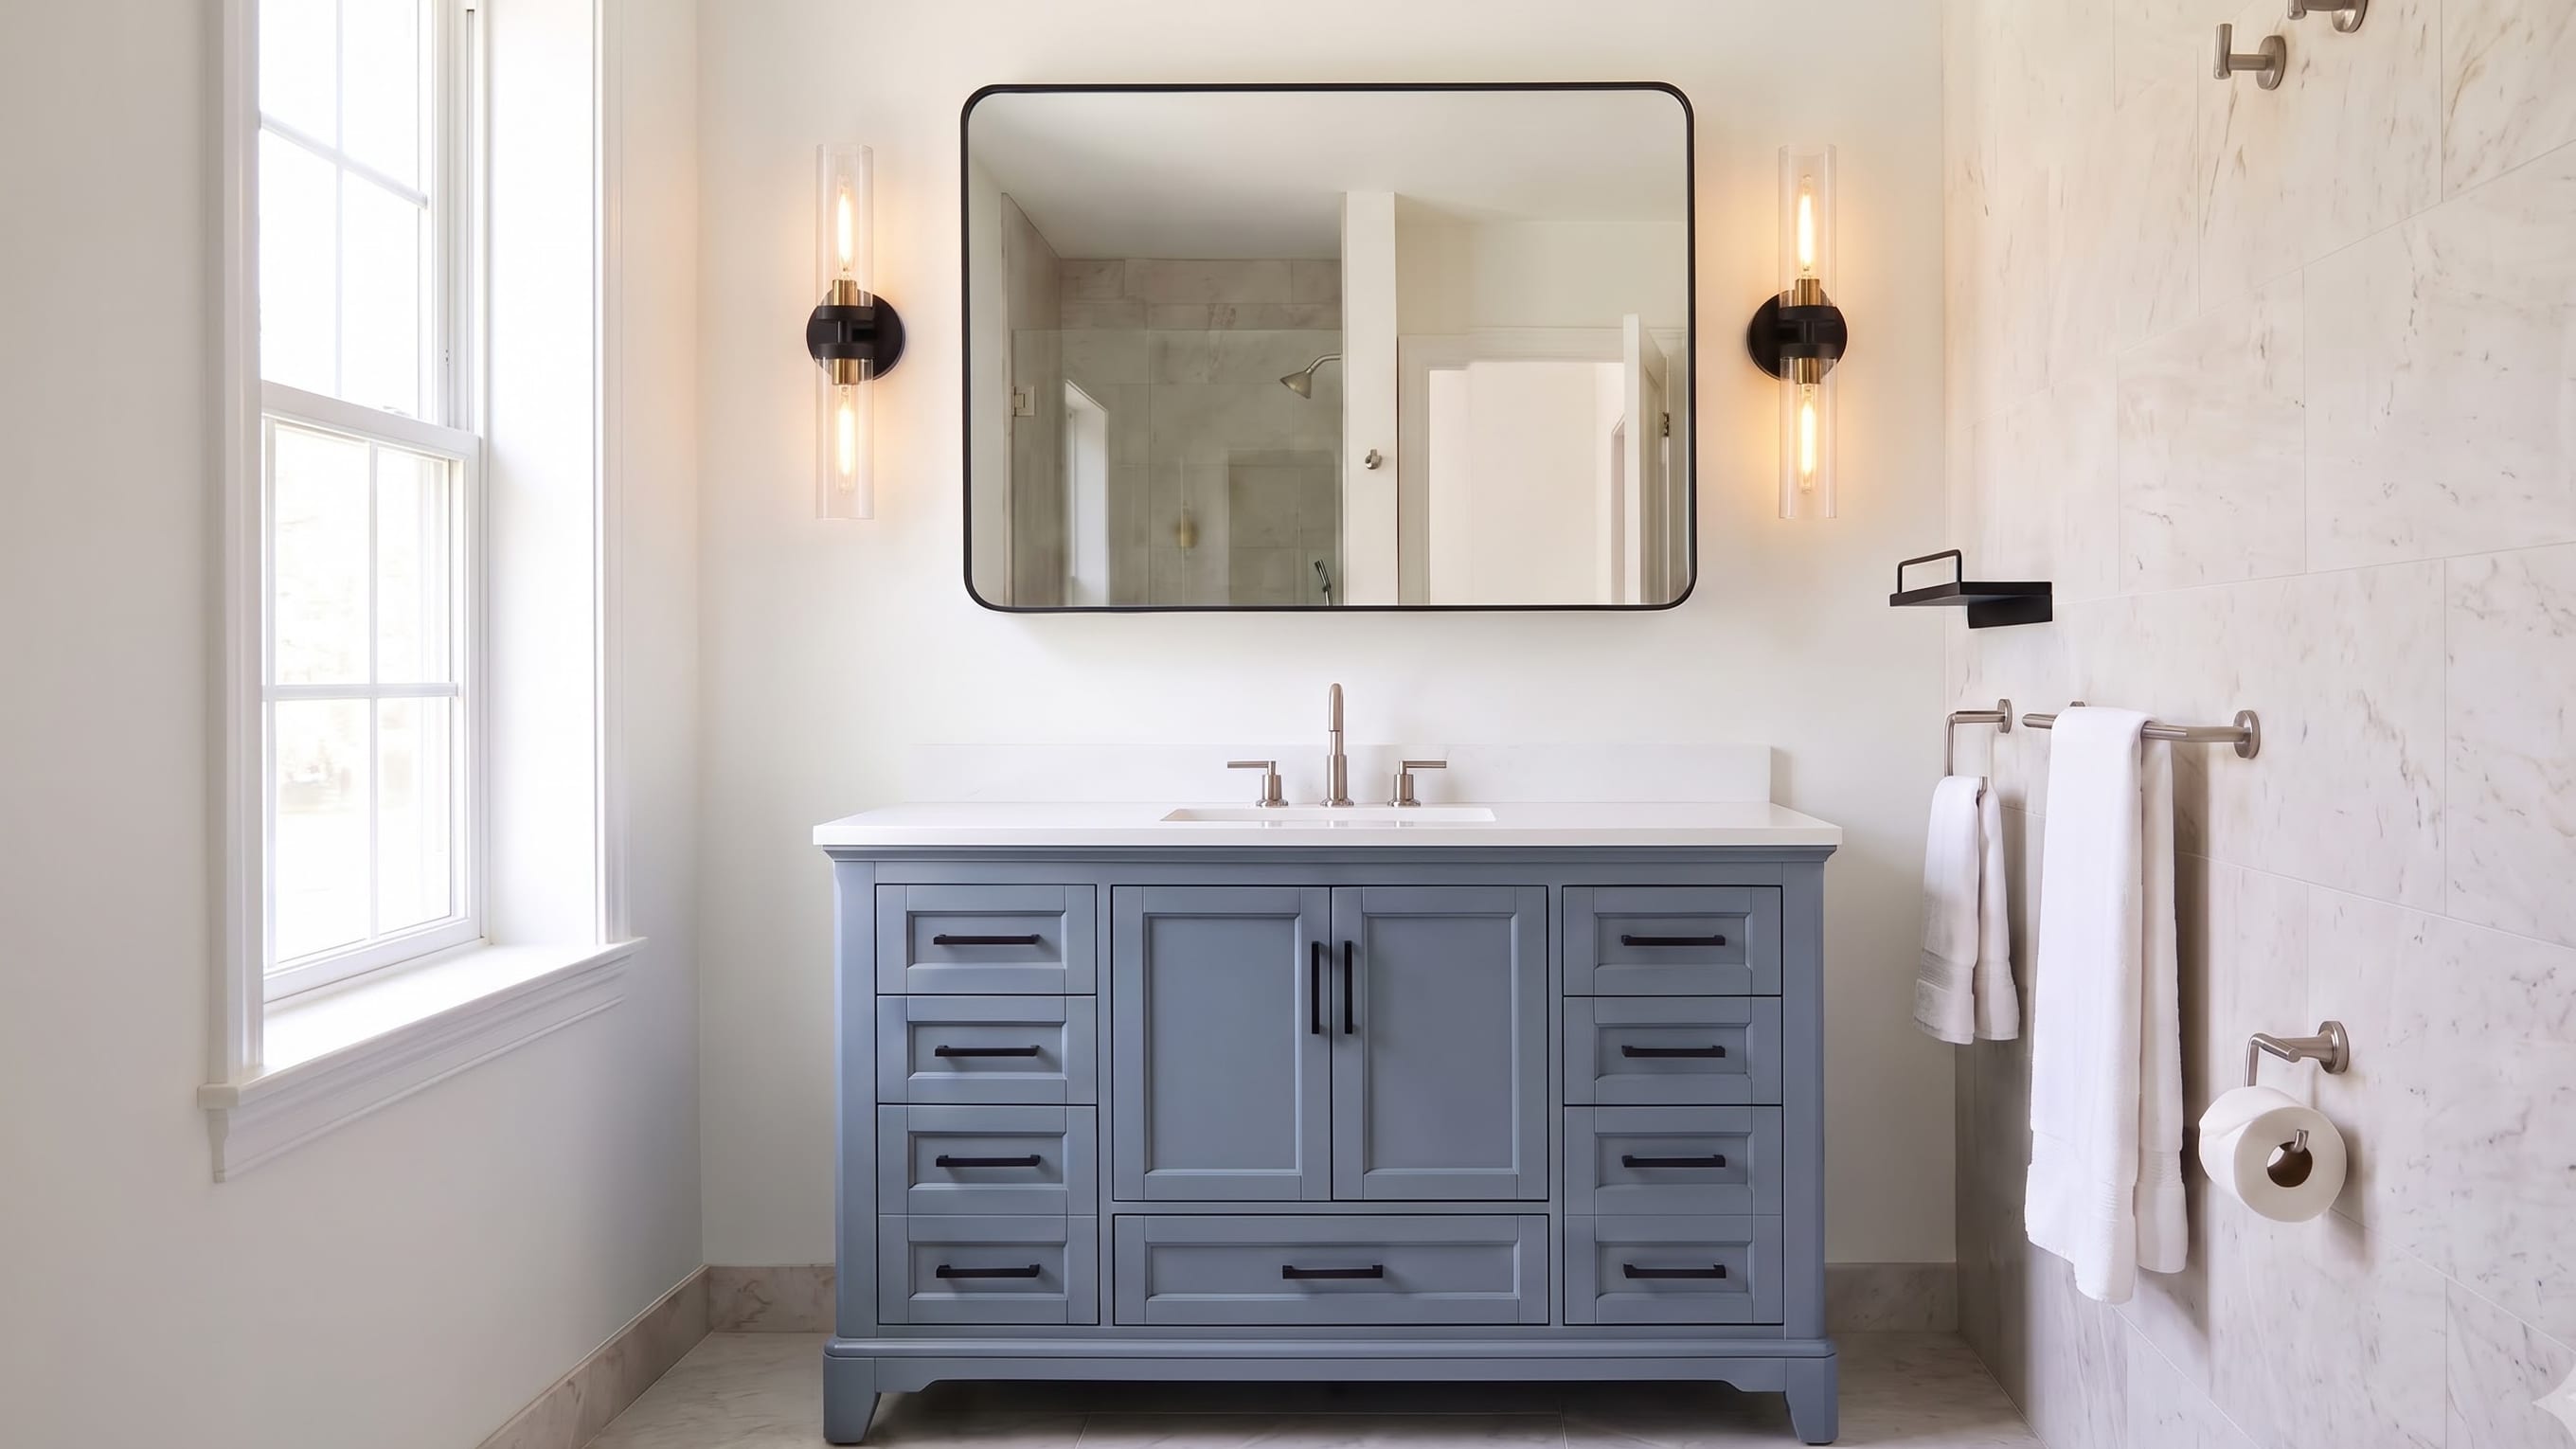
The useful part is not a magic mounting number. It is the relationship between the users, mirror, fixture body and light-emitting surface. Before the electrician fixes the boxes, tape the mirror outline on the wall and mark where the actual sconce glass will sit. A tall cylindrical sconce has a different useful center than a small globe even when both junction boxes are at the same height.
On a single vanity, check four things together:
- Mirror width. Leave enough room for the fixture body, not just the wall plate.
- Face height. The light-producing portion should sit around the face zone for the people who use the room most often.
- Projection. A deep shade can intrude into a narrow sink area or appear in the mirror at an awkward angle.
- Glare. Clear glass and exposed bulbs can look sharp at eye level. Diffusion, bulb choice and dimming matter as much as fixture position.
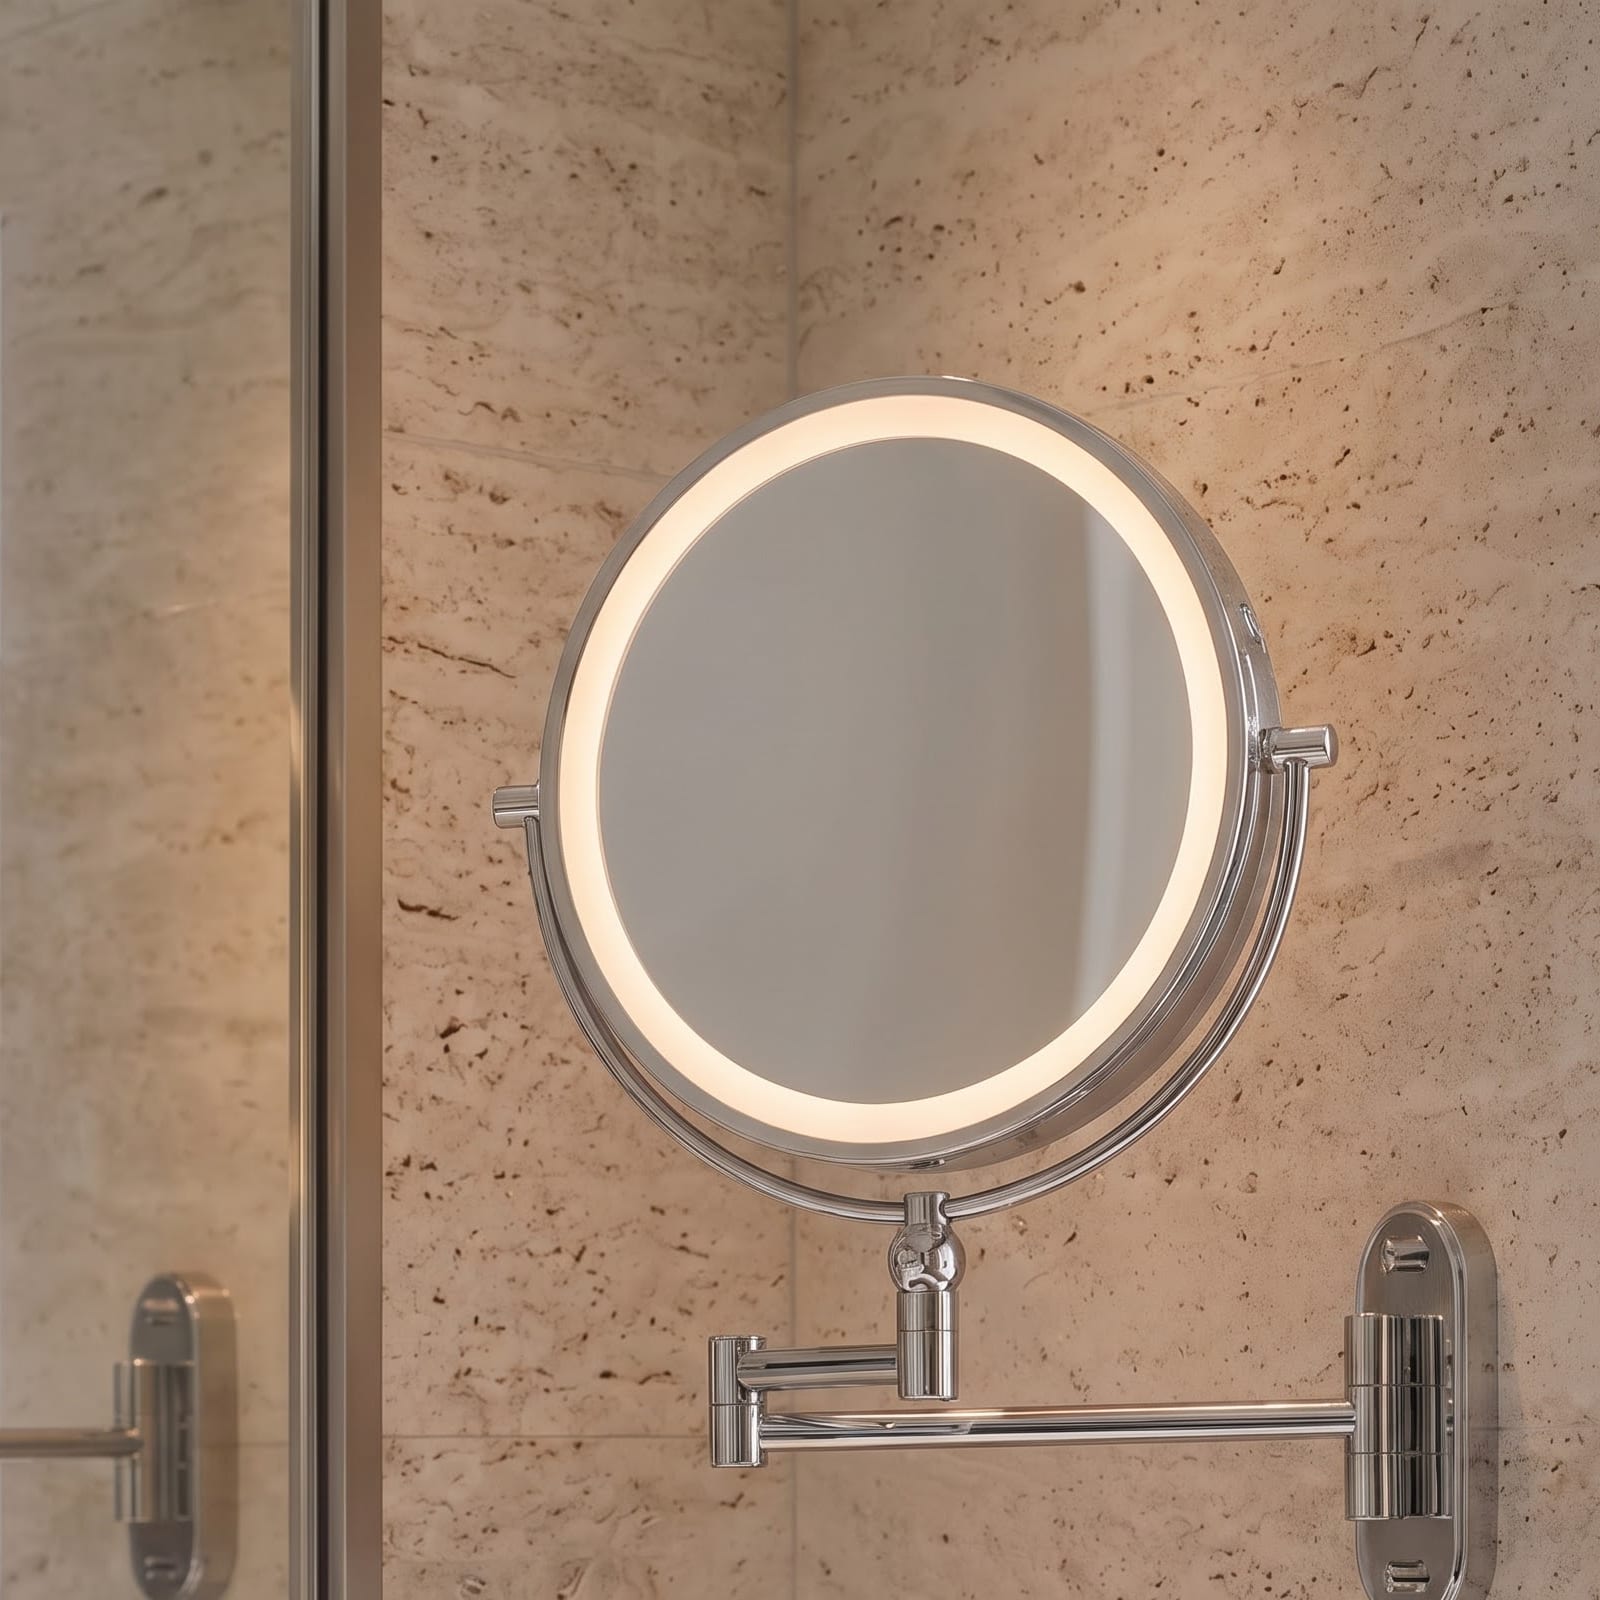
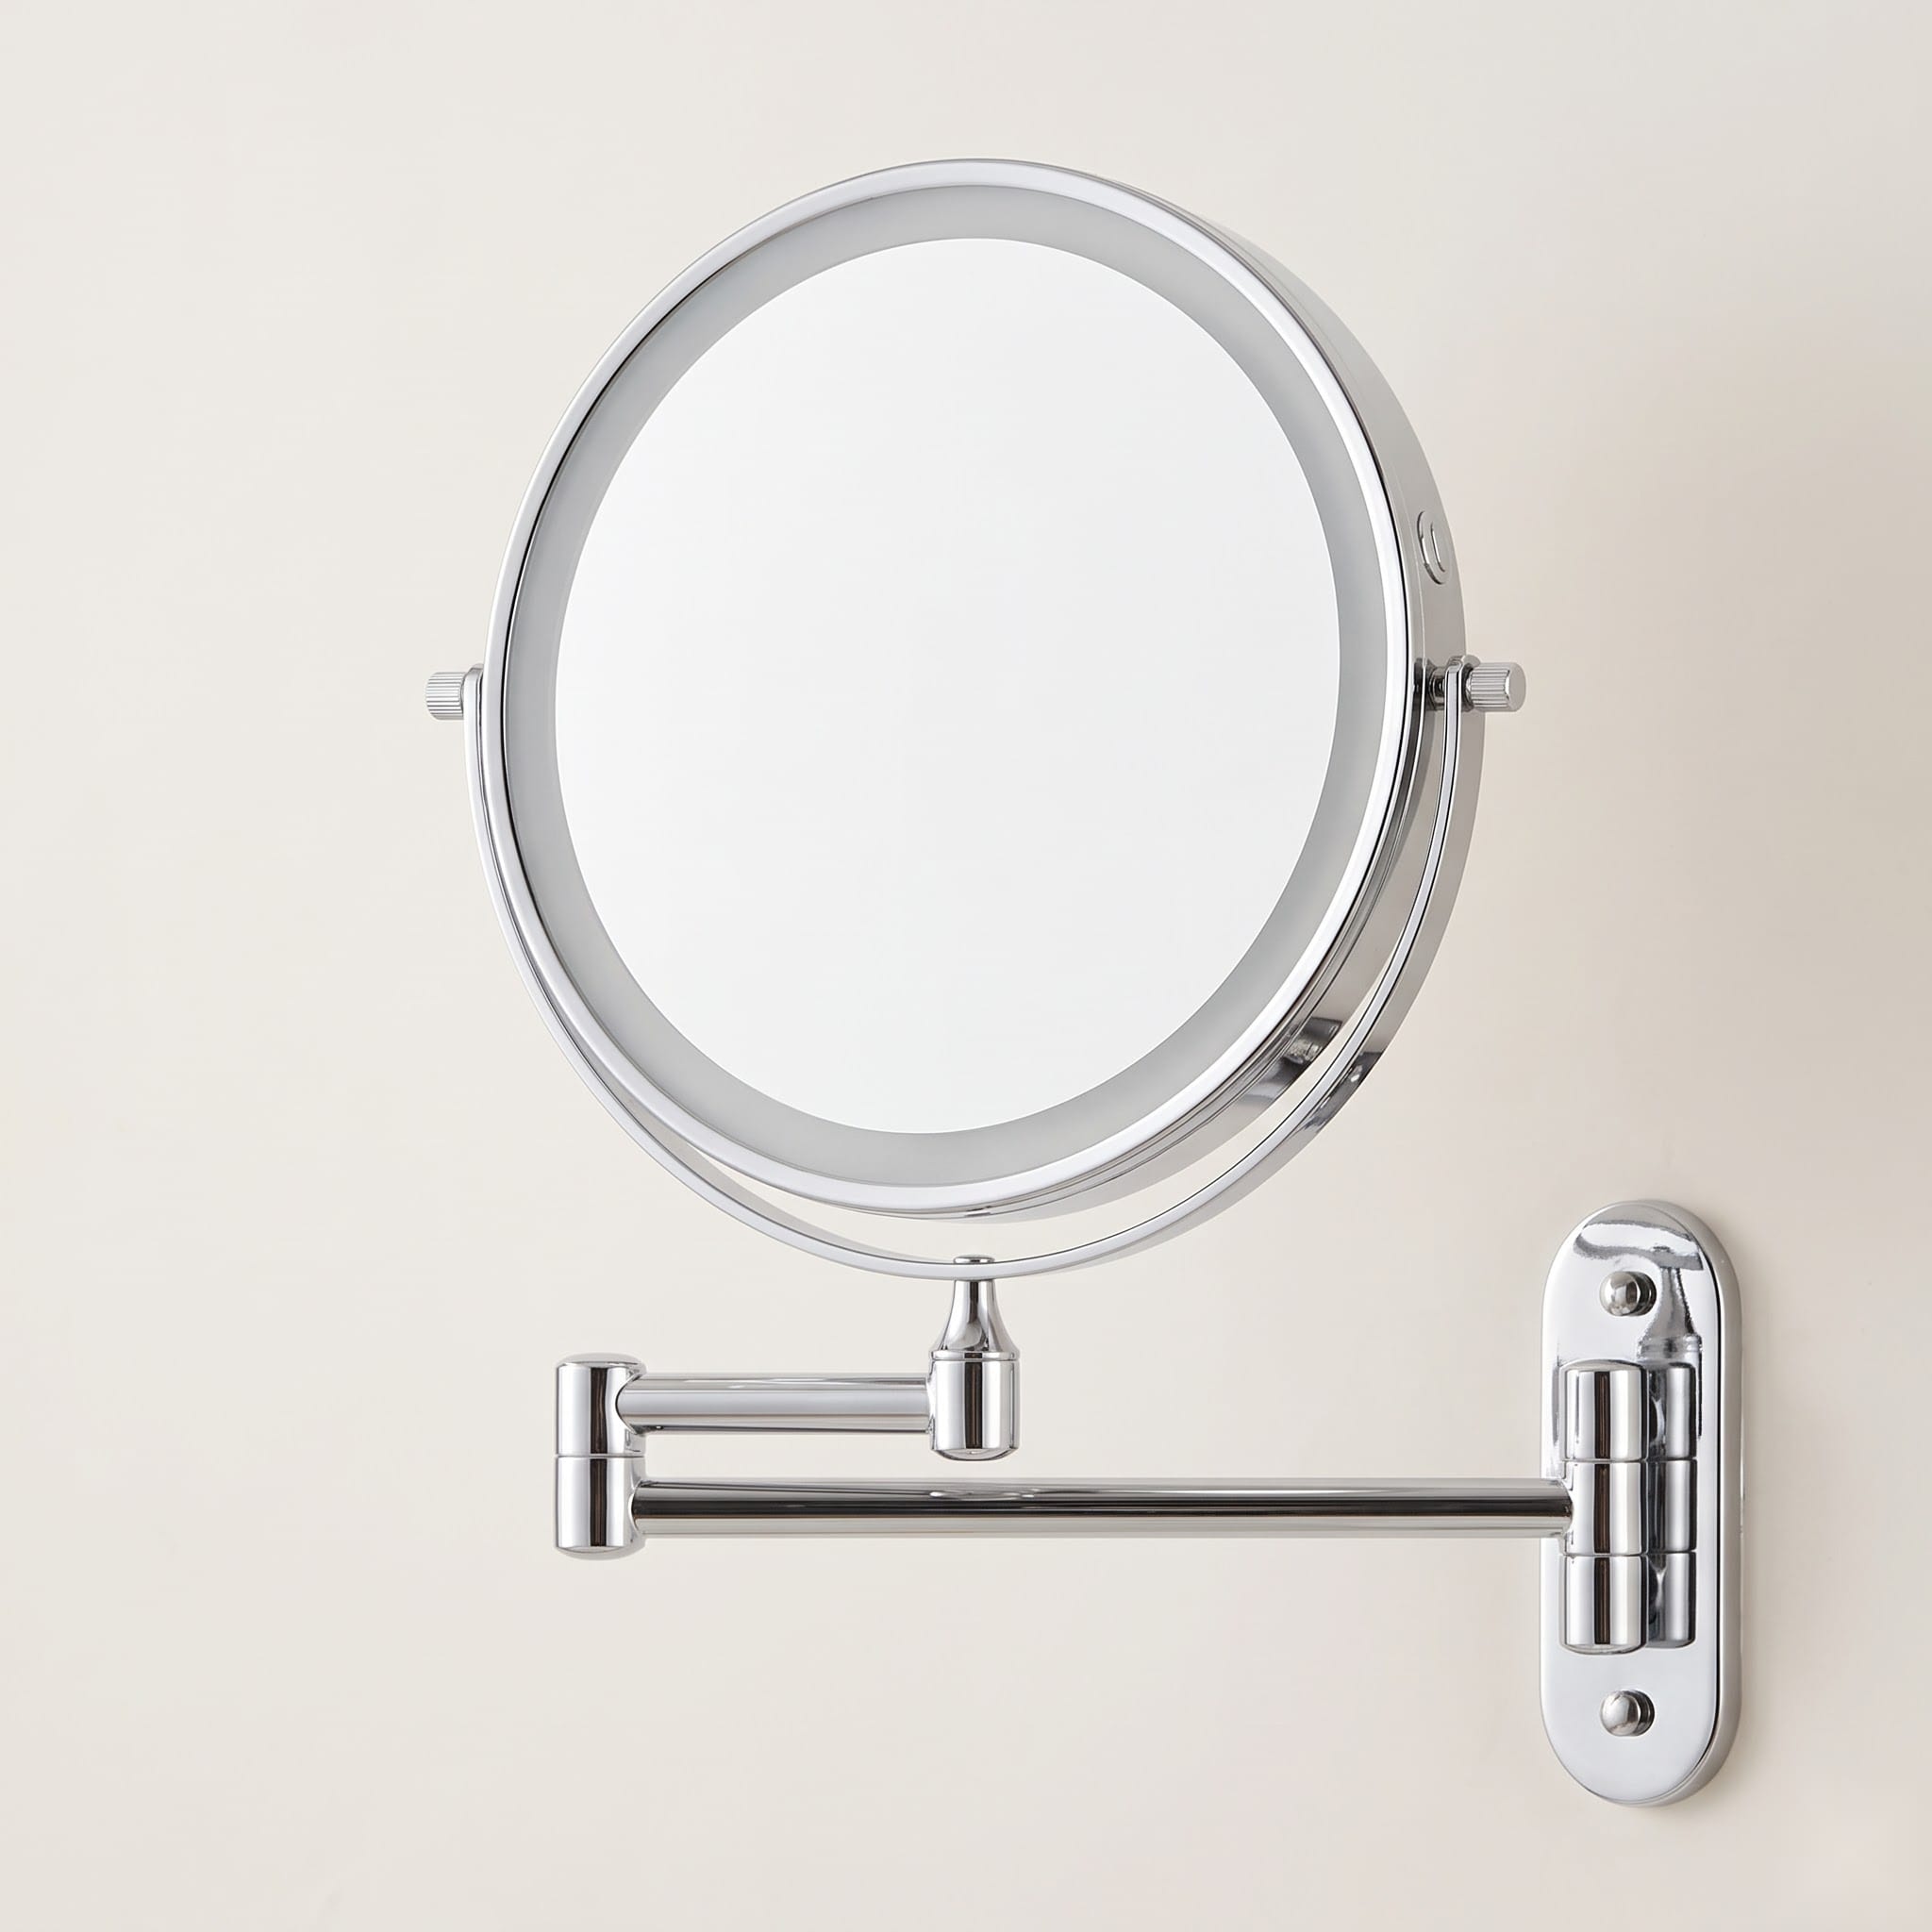
The larger image shows the architectural version of the idea: light on both sides of the sink wall. The square detail shows the smaller-scale version. A magnifying mirror is not a substitute for the room’s main vanity light; it is a local tool for the moments when you need your face closer to a controlled source.
If the magnifying mirror is rechargeable, plan where it will charge without leaving a permanent cable draped across the wall. The Auxmir reference used in this room is an 8-inch rechargeable model on an articulated arm, so it can fold back when it is not being used. That is exactly the sort of product detail that should come from the current listing rather than from the rendered room.
When a light bar above the mirror is the sensible choice
There are bathrooms where side sconces simply do not fit. A mirror may nearly fill the wall. A tall cabinet may sit tight to one side. A window, return wall or door trim may take the other. In those cases a bar above the mirror can be the cleaner plan.
The mistake is treating “above the mirror” as a complete specification. A very short bright bar centered over a wide mirror may concentrate light in one small zone. A bare or poorly diffused source can create glare. A fixture that projects too far can become visually heavy over a slim mirror.
Choose the bar after the mirror dimensions are known. Look at the length of the illuminated portion, the shade or diffuser, the fixture depth and the light distribution. Then check the room at night. Daylight from a nearby window can make a weak vanity fixture look acceptable in the afternoon and expose the problem only after sunset.
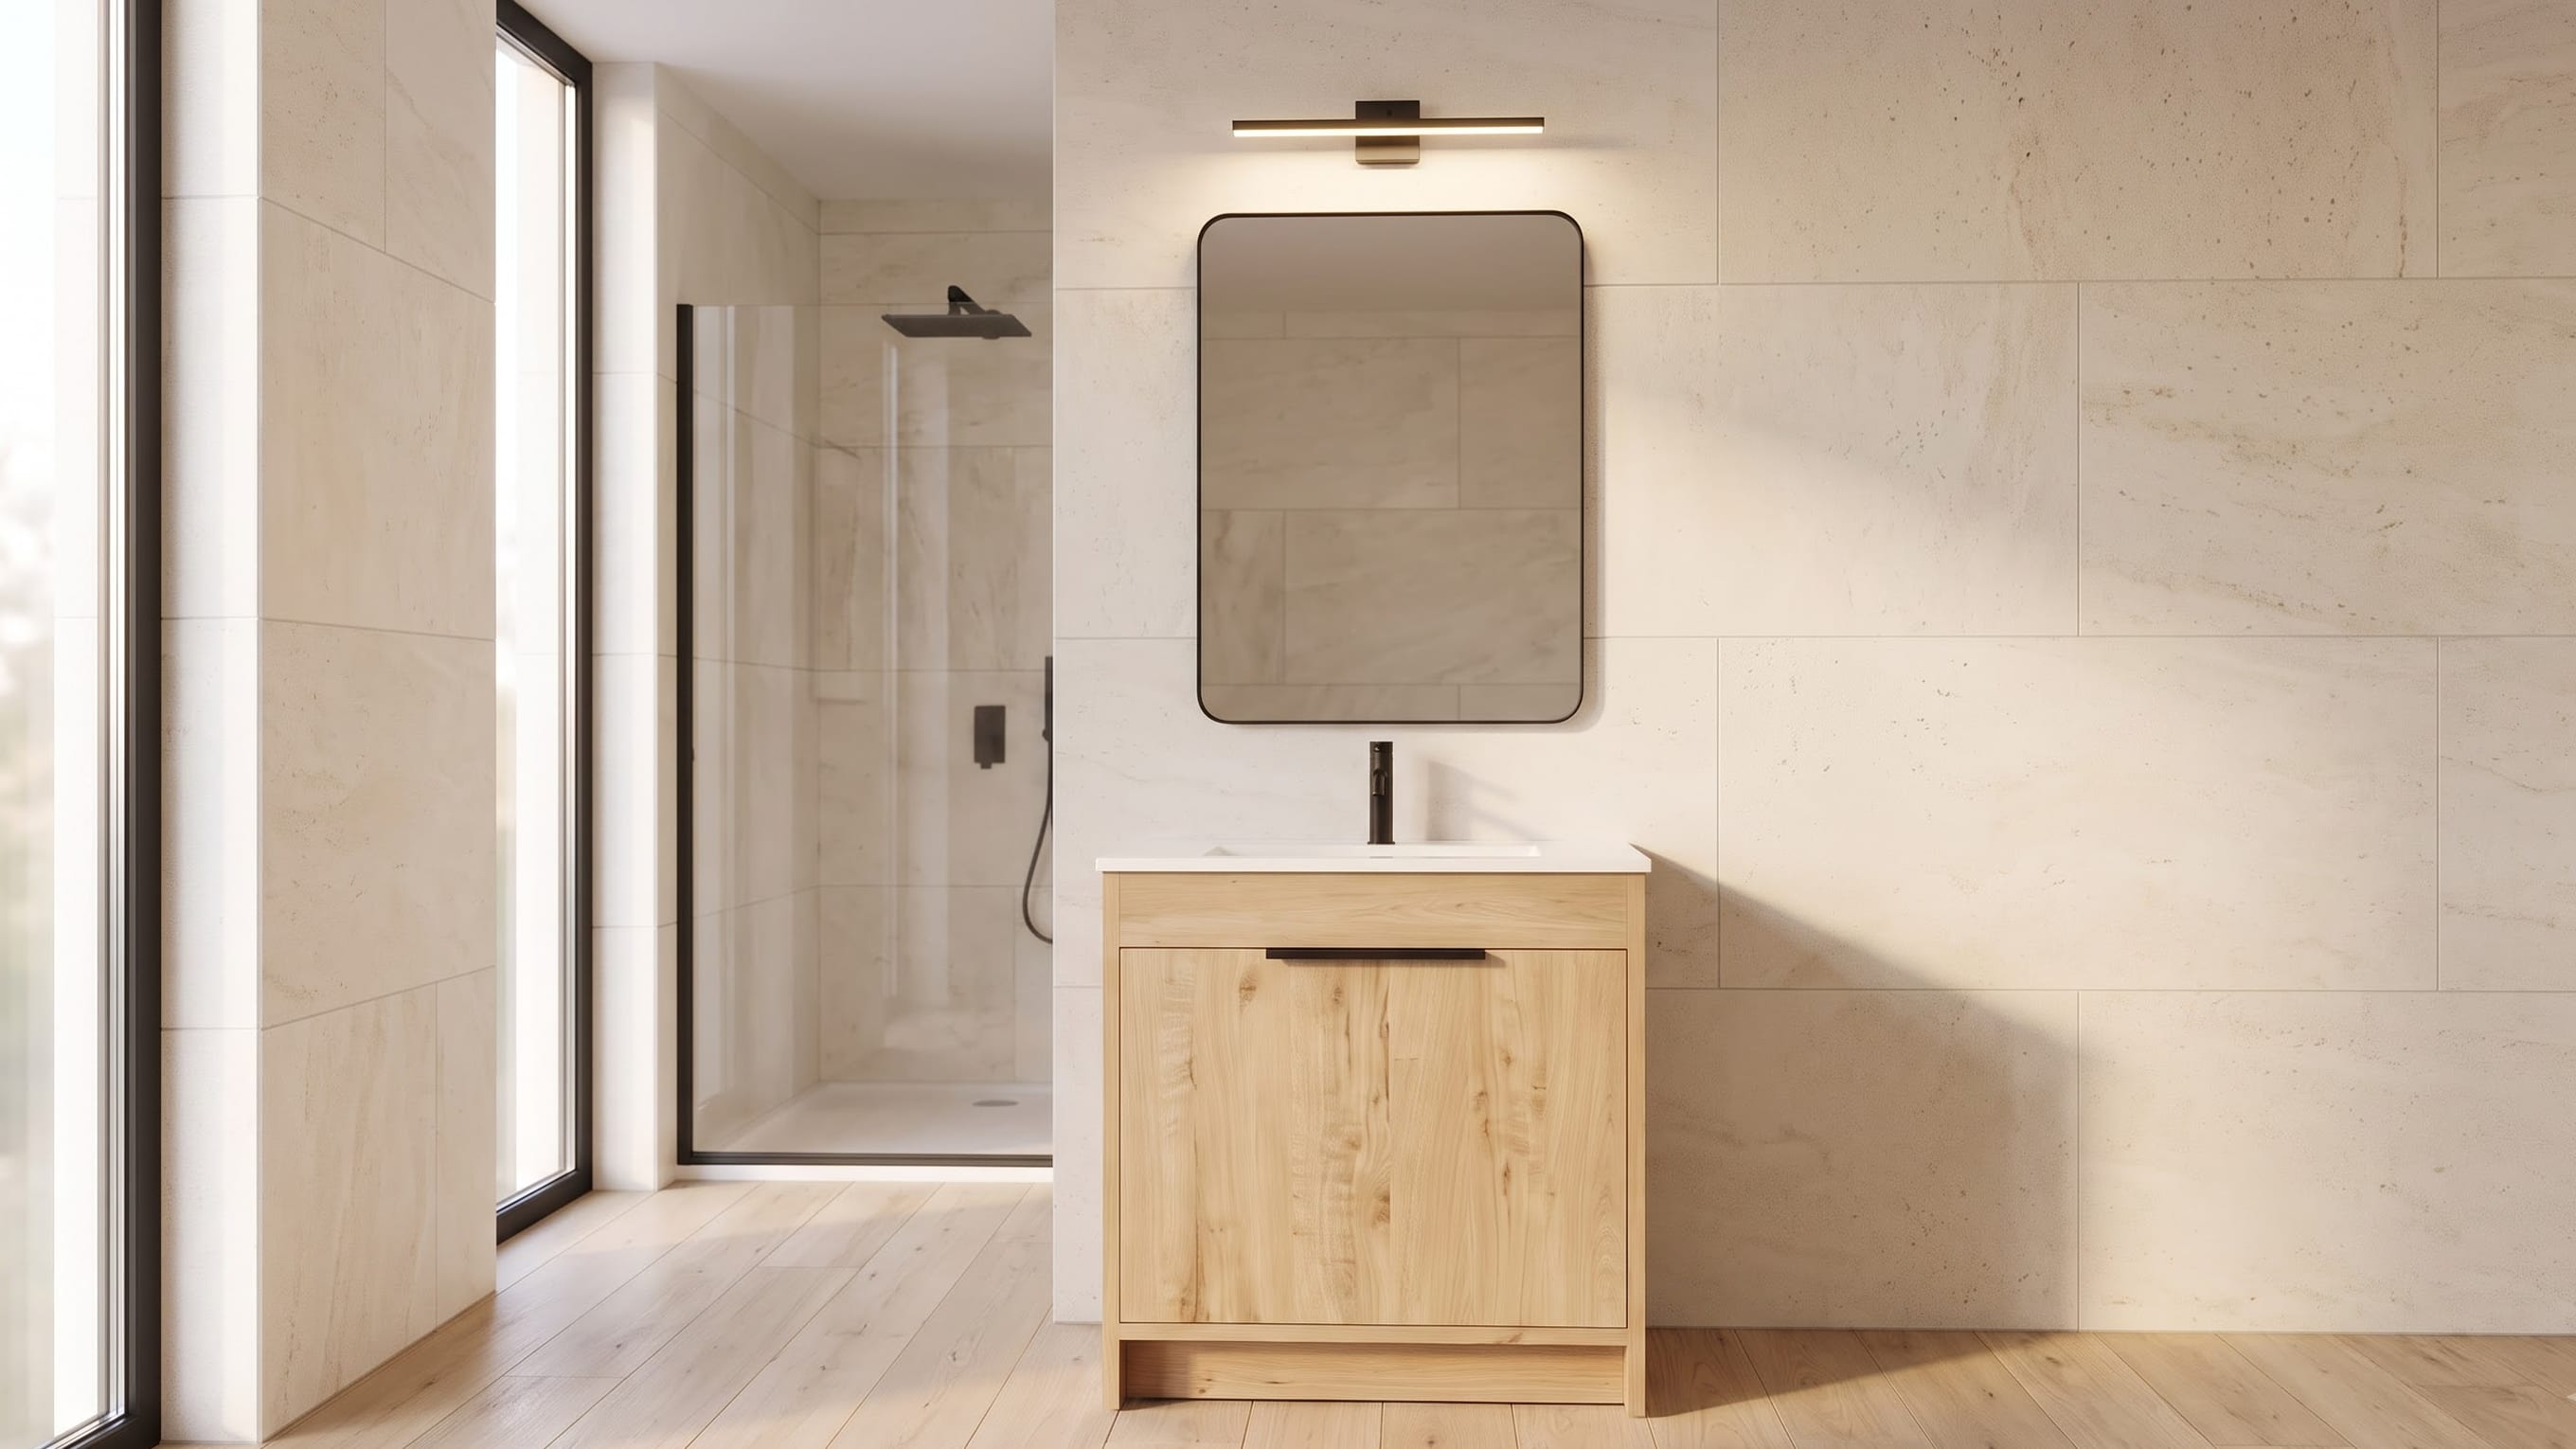
This arrangement also makes a useful retrofit. If the electrical box is already centered above an existing mirror, replacing a poor fixture with a better diffused bar can be far less disruptive than opening finished tile for two new side boxes. That is a real design constraint, not a compromise that needs to be hidden.
Can an LED mirror replace sconces?
Sometimes, yes. The answer depends on what the mirror actually does.
A mirror with a bright halo behind the glass may make the wall look beautifully lit while sending relatively little light forward. A front-lit mirror places the luminous surface toward the user. A dual-lit mirror can do both. The product specifications matter more than the marketing photograph.
For a mirror to carry the vanity task layer on its own, check at least these points:
- Is the light front-facing, backlit, or both?
- Is the face evenly lit when you stand where you actually use the sink?
- Does the manufacturer publish CRI and color-temperature information?
- Is the output dimmable, and is the dimmer built in or dependent on a compatible wall control?
- Does the mirror still work well at night when the window contributes nothing?
- Is the product suitable for its intended bathroom location and installed according to the manufacturer’s instructions?
If the answers are good, adding sconces simply because every inspiration photo has them may clutter the wall. If the mirror mainly creates a halo, side sconces or another forward source can do the task work that the backlight is not designed to do.
Daylight changes the test, not the wiring plan
A vanity beside a window can be excellent during the day. It can also disguise weak artificial lighting.
Plan the electrical lighting for the room after dark, then let daylight improve it during the day. That means checking the mirror at the times you actually use it. A bathroom that is used at 6:30 a.m. in winter needs a different reality check from a powder room that is mostly used when the house is already lit for the evening.
Window position matters too. Light from one side can be very good, but it can also make one side of the face much brighter than the other. The electric lighting should still make the mirror usable when the daylight is uneven or absent.
This is one reason the day-and-night hero pair is useful rather than decorative. The room does not need a different layout at night. The hierarchy of the light sources changes.
Light quality matters after you solve placement
Once the direction is right, look at the quality of the light. The two specifications worth reading first are CRI and color temperature.
CRI describes how accurately a light source renders colors compared with a reference source. For grooming, makeup and materials with subtle warm tones, a high CRI is useful. The current Lumens vanity-lighting guide recommends CRI 90 or above for accurate color rendition at the vanity.
Color temperature is different. It describes whether white light appears warmer or cooler. Lumens notes that 2700K to 3000K is a common warm-to-natural range for vanity lighting, while 3500K to 4000K can be useful when a more neutral appearance and color precision are priorities.
That is a range of choices, not a rule that every bathroom should use the same Kelvin value. A powder room with dark tile and warm wood may feel better at the warmer end. Someone who does detailed makeup in a bright white bathroom may prefer a more neutral setting. Tunable or selectable-CCT fixtures can be useful when the room needs both.
The more important mistake to avoid is mixing sources that fight each other. A warm mirror, cool ceiling downlights and a much cooler magnifying mirror can make the face and finishes change color as you move a few inches. If the sources are meant to be on together, test them together.
Dimming is not only about mood
A dimmer is useful in a bathroom because the required light level changes through the day. Bright task light can be welcome in the morning. The same output can feel aggressive late at night.
With integrated LED products, verify how dimming actually works before the wiring is closed. Some mirrors use touch controls on the glass. Some fixtures need a compatible wall dimmer. Some products remember the last setting and others do not. “Dimmable” on a listing is the start of the question, not the end.
If you want the vanity light and ambient ceiling light to behave separately, give them separate controls. That simple decision can make the room far easier to use than putting every source on one switch.
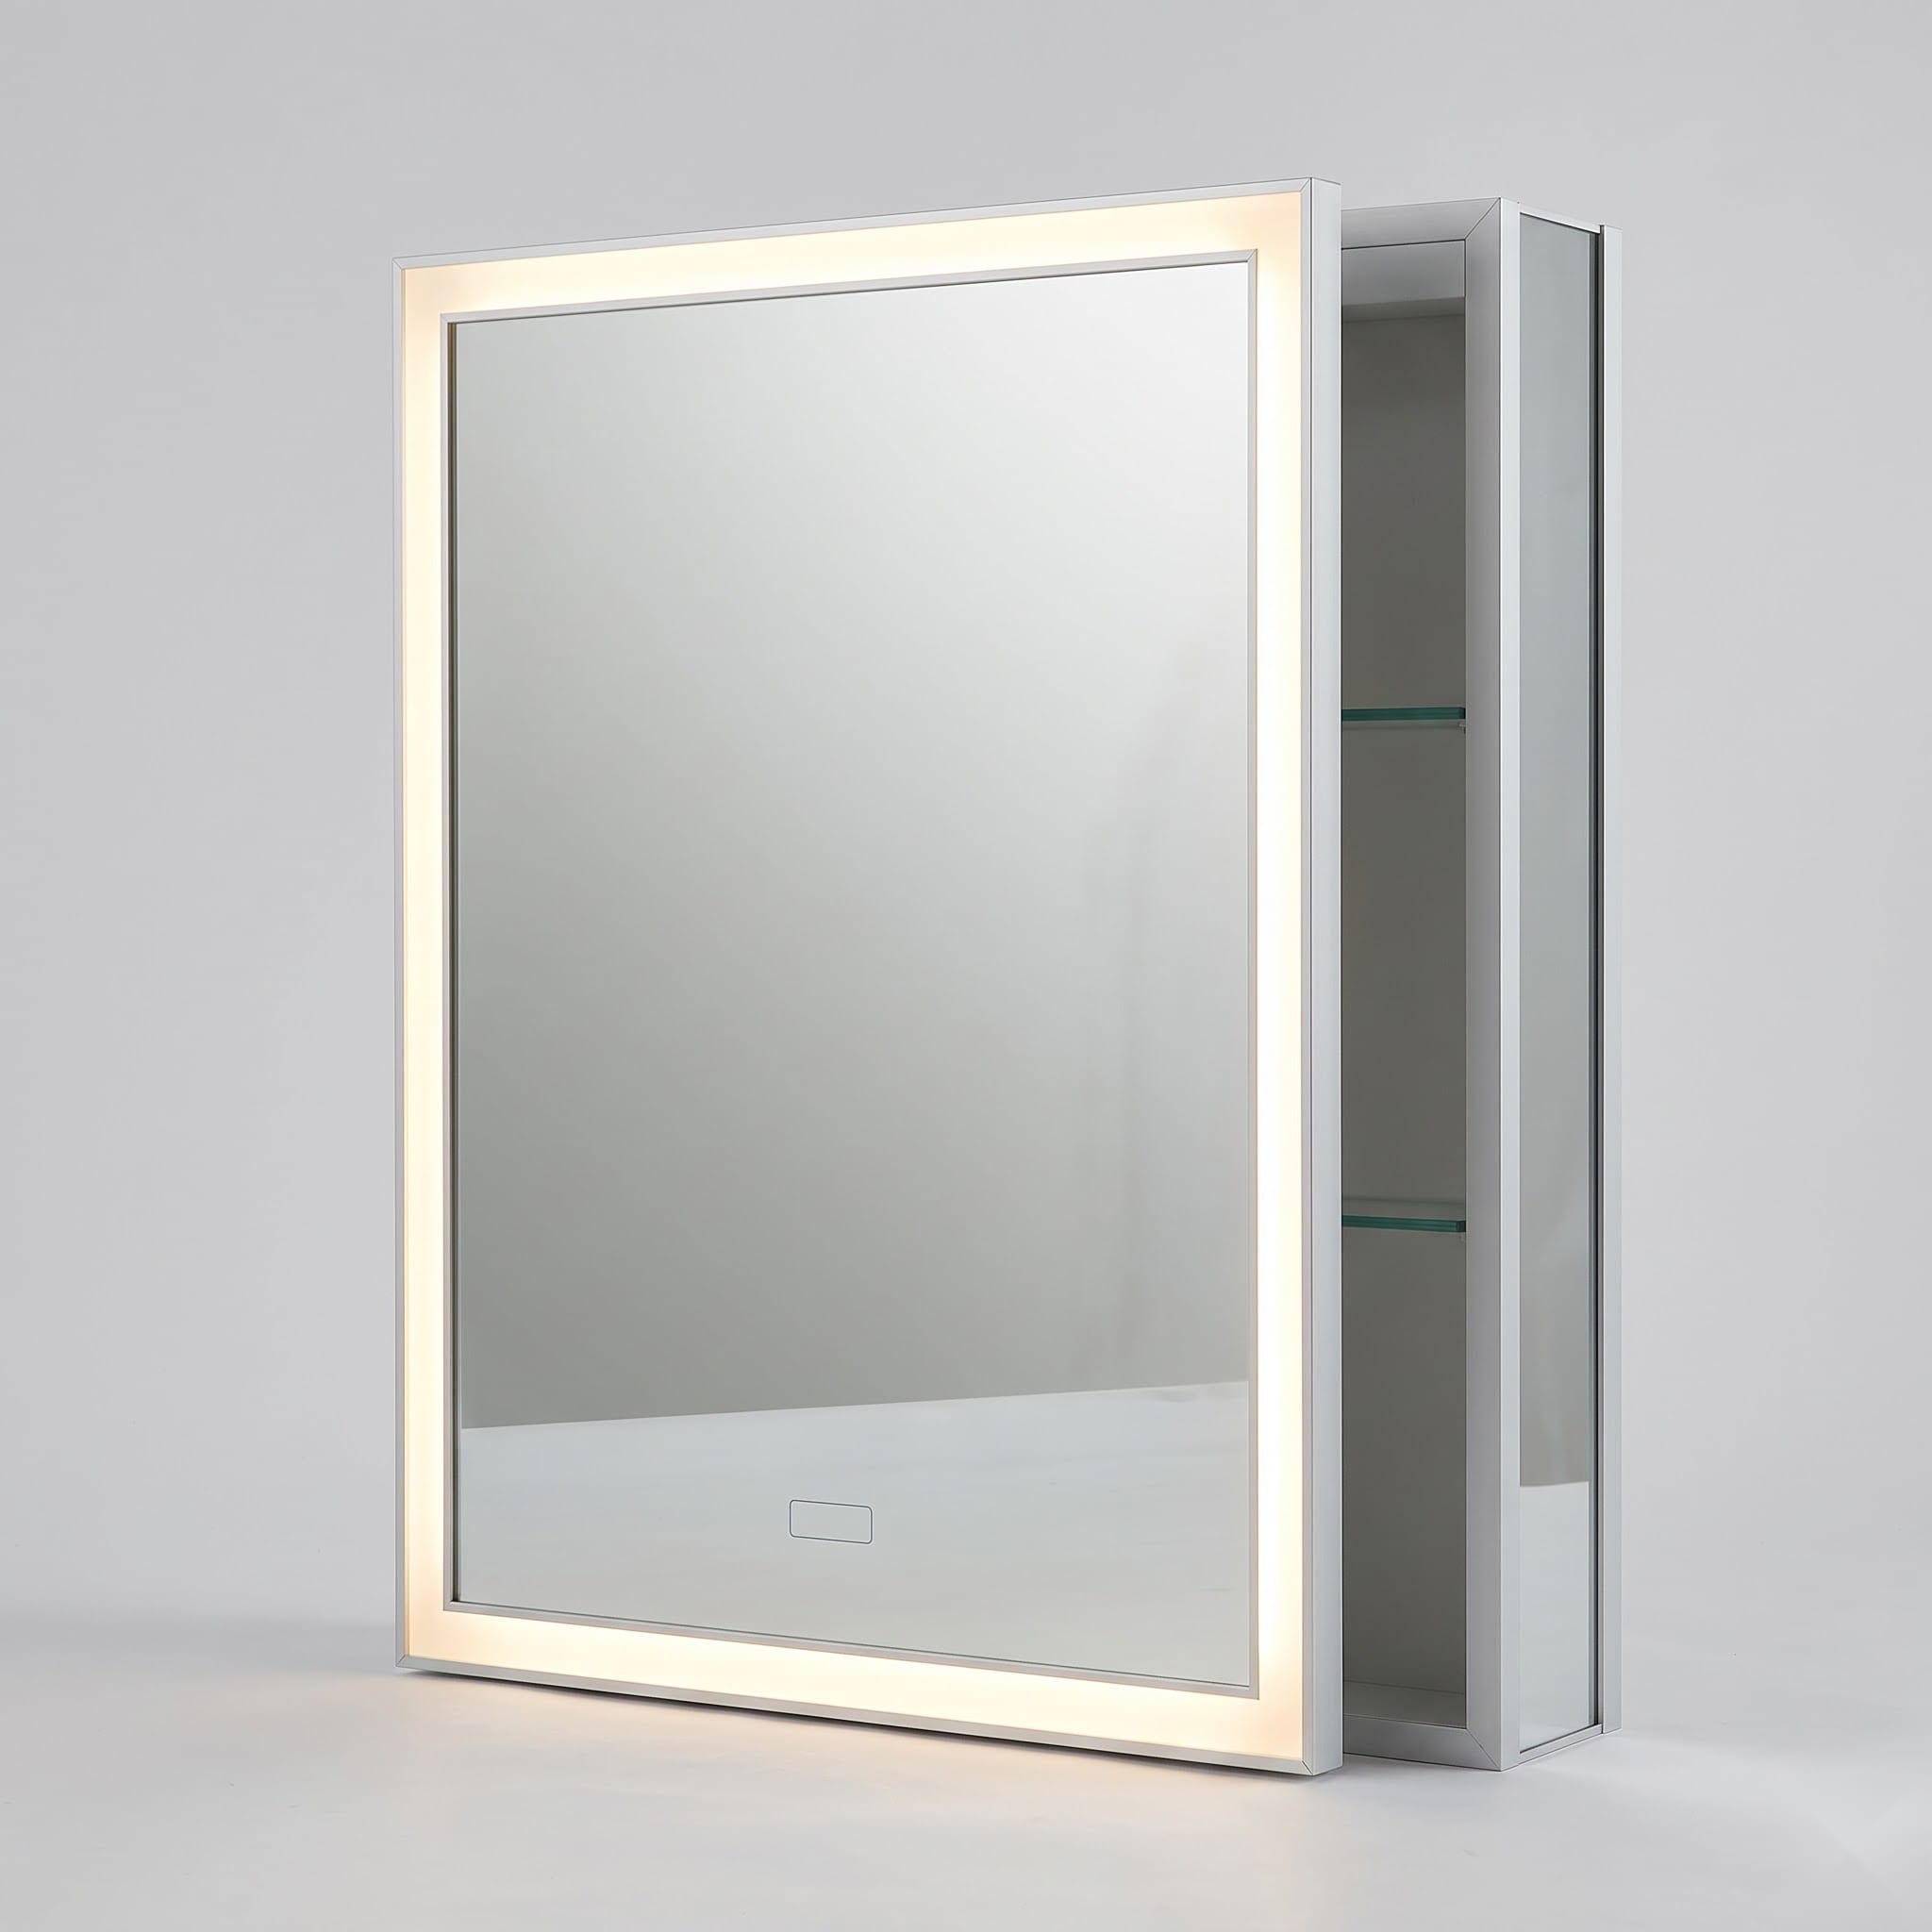
A lighted medicine cabinet is a lighting decision and a storage decision
A lighted medicine cabinet can clean up a small vanity wall because it combines mirror, storage and light in one element. It also asks more from the wall than a flat mirror does.
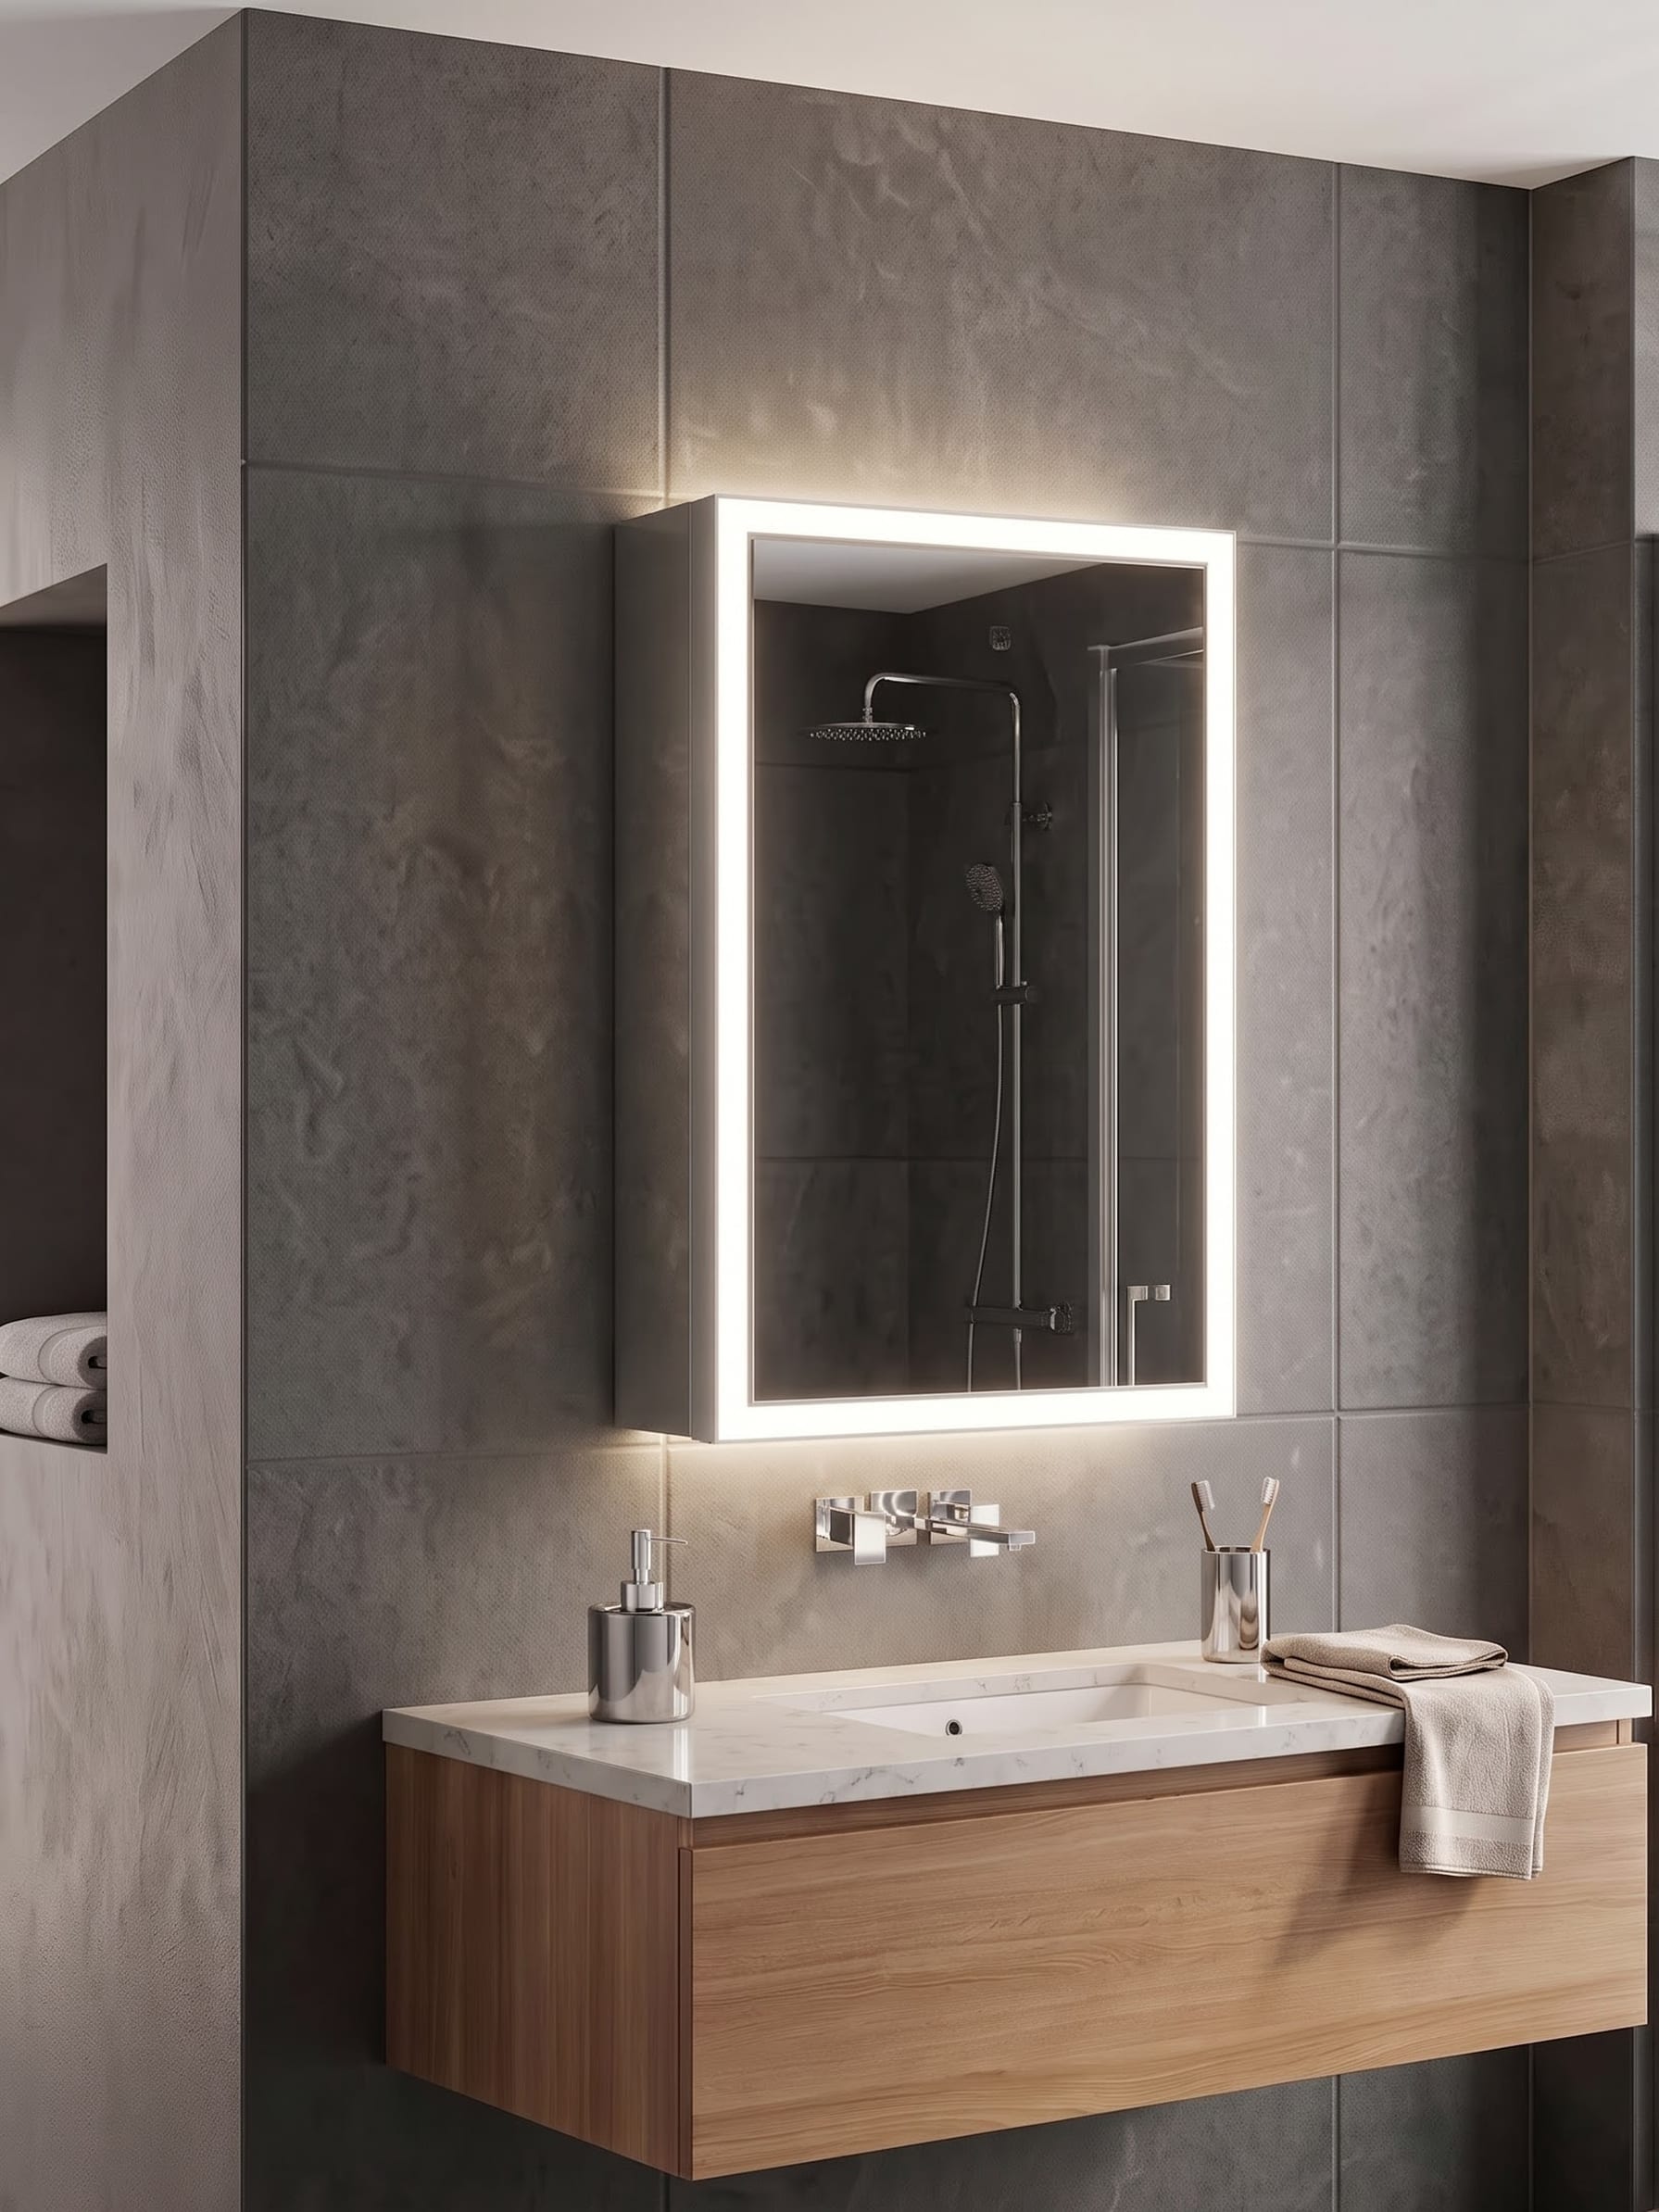
Start with depth. A recessed cabinet needs a wall cavity that can accept it; a surface-mounted cabinet projects into the room. Either can work, but the edge condition against tile, the door swing and the faucet zone should be resolved before installation.
Then check the electrical functions. Integrated light, anti-fog systems, outlets, sensors and clocks vary by model. Use the current manufacturer or retailer documentation for the product you are actually buying.
Finally, check the reflection. A deeper mirrored cabinet can reflect a shower, window or bright fixture from a different angle than a flat wall mirror. That changes the composition of the room as well as the storage.
The generated medicine-cabinet scene is useful for showing the idea, but it is not installation evidence. The wall build-up, electrical rough-in and cabinet fixing still come from the actual product instructions and the requirements that apply where the bathroom is built.
The mirror, vanity and light need to be planned as one elevation
A common ordering mistake is buying the vanity, then the mirror, then trying to fit the light into whatever wall is left.
Instead, draw the whole sink wall as a simple elevation. You do not need design software. Record the finished vanity width, countertop height, faucet location, mirror width and height, nearby trim, cabinet doors, outlets and the real dimensions of the lights. If side sconces are being used, show their full bodies. If the mirror opens, draw the swing.
For a wider vanity, decide whether the wall is one lighting zone or two. A single centered mirror and one bar can make sense on some single-sink vanities. A long double vanity may work better as two mirror/task zones rather than one very wide source trying to serve everyone.
The same thinking applies to storage. If a tower or medicine cabinet sits beside the mirror, its door cannot occupy the same space as a sconce. The bathroom vanity storage guide goes deeper into drawers, cabinets, plumbing and towers; the useful point here is that lighting needs to be on that elevation before the storage plan is frozen.
Watch glare on mirrors, glass and glossy stone
A bathroom can have enough light and still be uncomfortable if every surface sends a bright point back at you.
Clear-glass sconces are a good example. The fixture may look light and architectural, but the visible bulb can be intense at face height. Use a bulb and output that suit the fixture, and check whether the light source sits directly in the normal line of sight. A dimmer can help, but diffusion is often a better first fix than simply turning a harsh source down.
Glossy tile and polished stone can multiply highlights. That is not automatically a problem. In a dark bathroom, reflected points of light can give the wall depth; the black tile bathroom guide uses that effect deliberately. The issue is uncontrolled glare near the mirror, especially when the brightest source is visible in both the room and the reflection.
Plan wiring before the finishes go in
Lighting decisions become expensive when they are made after the tile is finished.
Before rough-in, confirm the actual product and the actual installation method. Note whether the light is hardwired or plug-in, whether an LED driver needs accessible space, whether a medicine cabinet is surface-mounted or recessed, whether a mirror needs a constant feed for touch controls, and whether the control system is compatible with the chosen dimmer.
Bathroom electrical requirements are location-specific. Do not infer a wet- or damp-location rating from a styled room or from the word “bathroom” in a marketplace title. Check the fixture’s current listing and manufacturer documentation, then follow the electrical and building requirements that apply to the installation.
That caution matters for source lists too. The products below are exact visual/product references for this article, but their current specifications and installation suitability remain the authority at the time of purchase. A generated room is not a code drawing.
Common vanity-lighting mistakes
Mistaking a halo for face light
A bright perimeter around a mirror is easy to photograph. Stand at the sink and check what reaches your face. If the mirror is backlit only, it may need another forward source.
Letting a ceiling downlight do all the work
A downlight can illuminate the room and countertop while still leaving facial shadows. Treat general ceiling light and mirror task light as different jobs.
Choosing the mirror before leaving room for sconces
If side light is part of the plan, the mirror cannot occupy every inch of the wall. Measure the sconce body, not only its backplate.
Buying a light bar that is visually too small for the wall
A narrow, intense source can make a wide mirror feel poorly resolved. Look at the luminous width and distribution, not just the fixture’s overall dimension.
Ignoring the night condition
A room can look perfect at noon because the window is doing most of the work. Test the lighting after dark before you decide the plan is finished.
Mixing color temperatures without checking them together
A warm mirror and cool ceiling source can make skin, stone and wood shift color within the same small zone. If they are used together, evaluate them together.
Treating a medicine cabinet like a flat mirror
Depth, hinges, door swing, recess framing and wiring all matter. Resolve those before tile edges are cut.
Hard-coding one “ideal” dimension for every bathroom
Common mounting ranges can be a useful starting point, but people, mirrors and fixtures differ. Use the users and the product’s real geometry to set the final position.
A practical order for planning the vanity wall
- Measure the vanity and the usable wall. Include side walls, window trim, tall storage and door swings.
- Choose the mirror type. Plain, front-lit, backlit, dual-lit or medicine cabinet.
- Decide how the face will be lit. Side sconces, forward mirror light, an over-mirror source or a combination.
- Check the product dimensions and specifications. Do this before electrical boxes are placed.
- Plan controls. Decide what dims, what switches separately and what needs constant power.
- Review the wall as one elevation. Check that lights, mirror, faucet and storage do not compete for the same space.
- Test the night condition. Make sure the vanity still works when daylight disappears.
You do not need the most fixtures. You need the right light arriving from the right direction, with enough control to suit how the room is used.
The useful test is simple
Stand where you actually use the sink. Look at the face, not the fixture. If the light is even, the color looks natural, the controls make sense in the morning and at night, and the mirror wall has been coordinated with the vanity and storage, the plan is doing its job.
The sourceable room below combines a steel-blue vanity, a black-framed mirror and a pair of clear-glass sconces. The interaction stays invisible until you ask for a product, so the photograph remains an editorial image rather than turning into a diagram.
Interactive bathroom view. Select a product area to view source details.
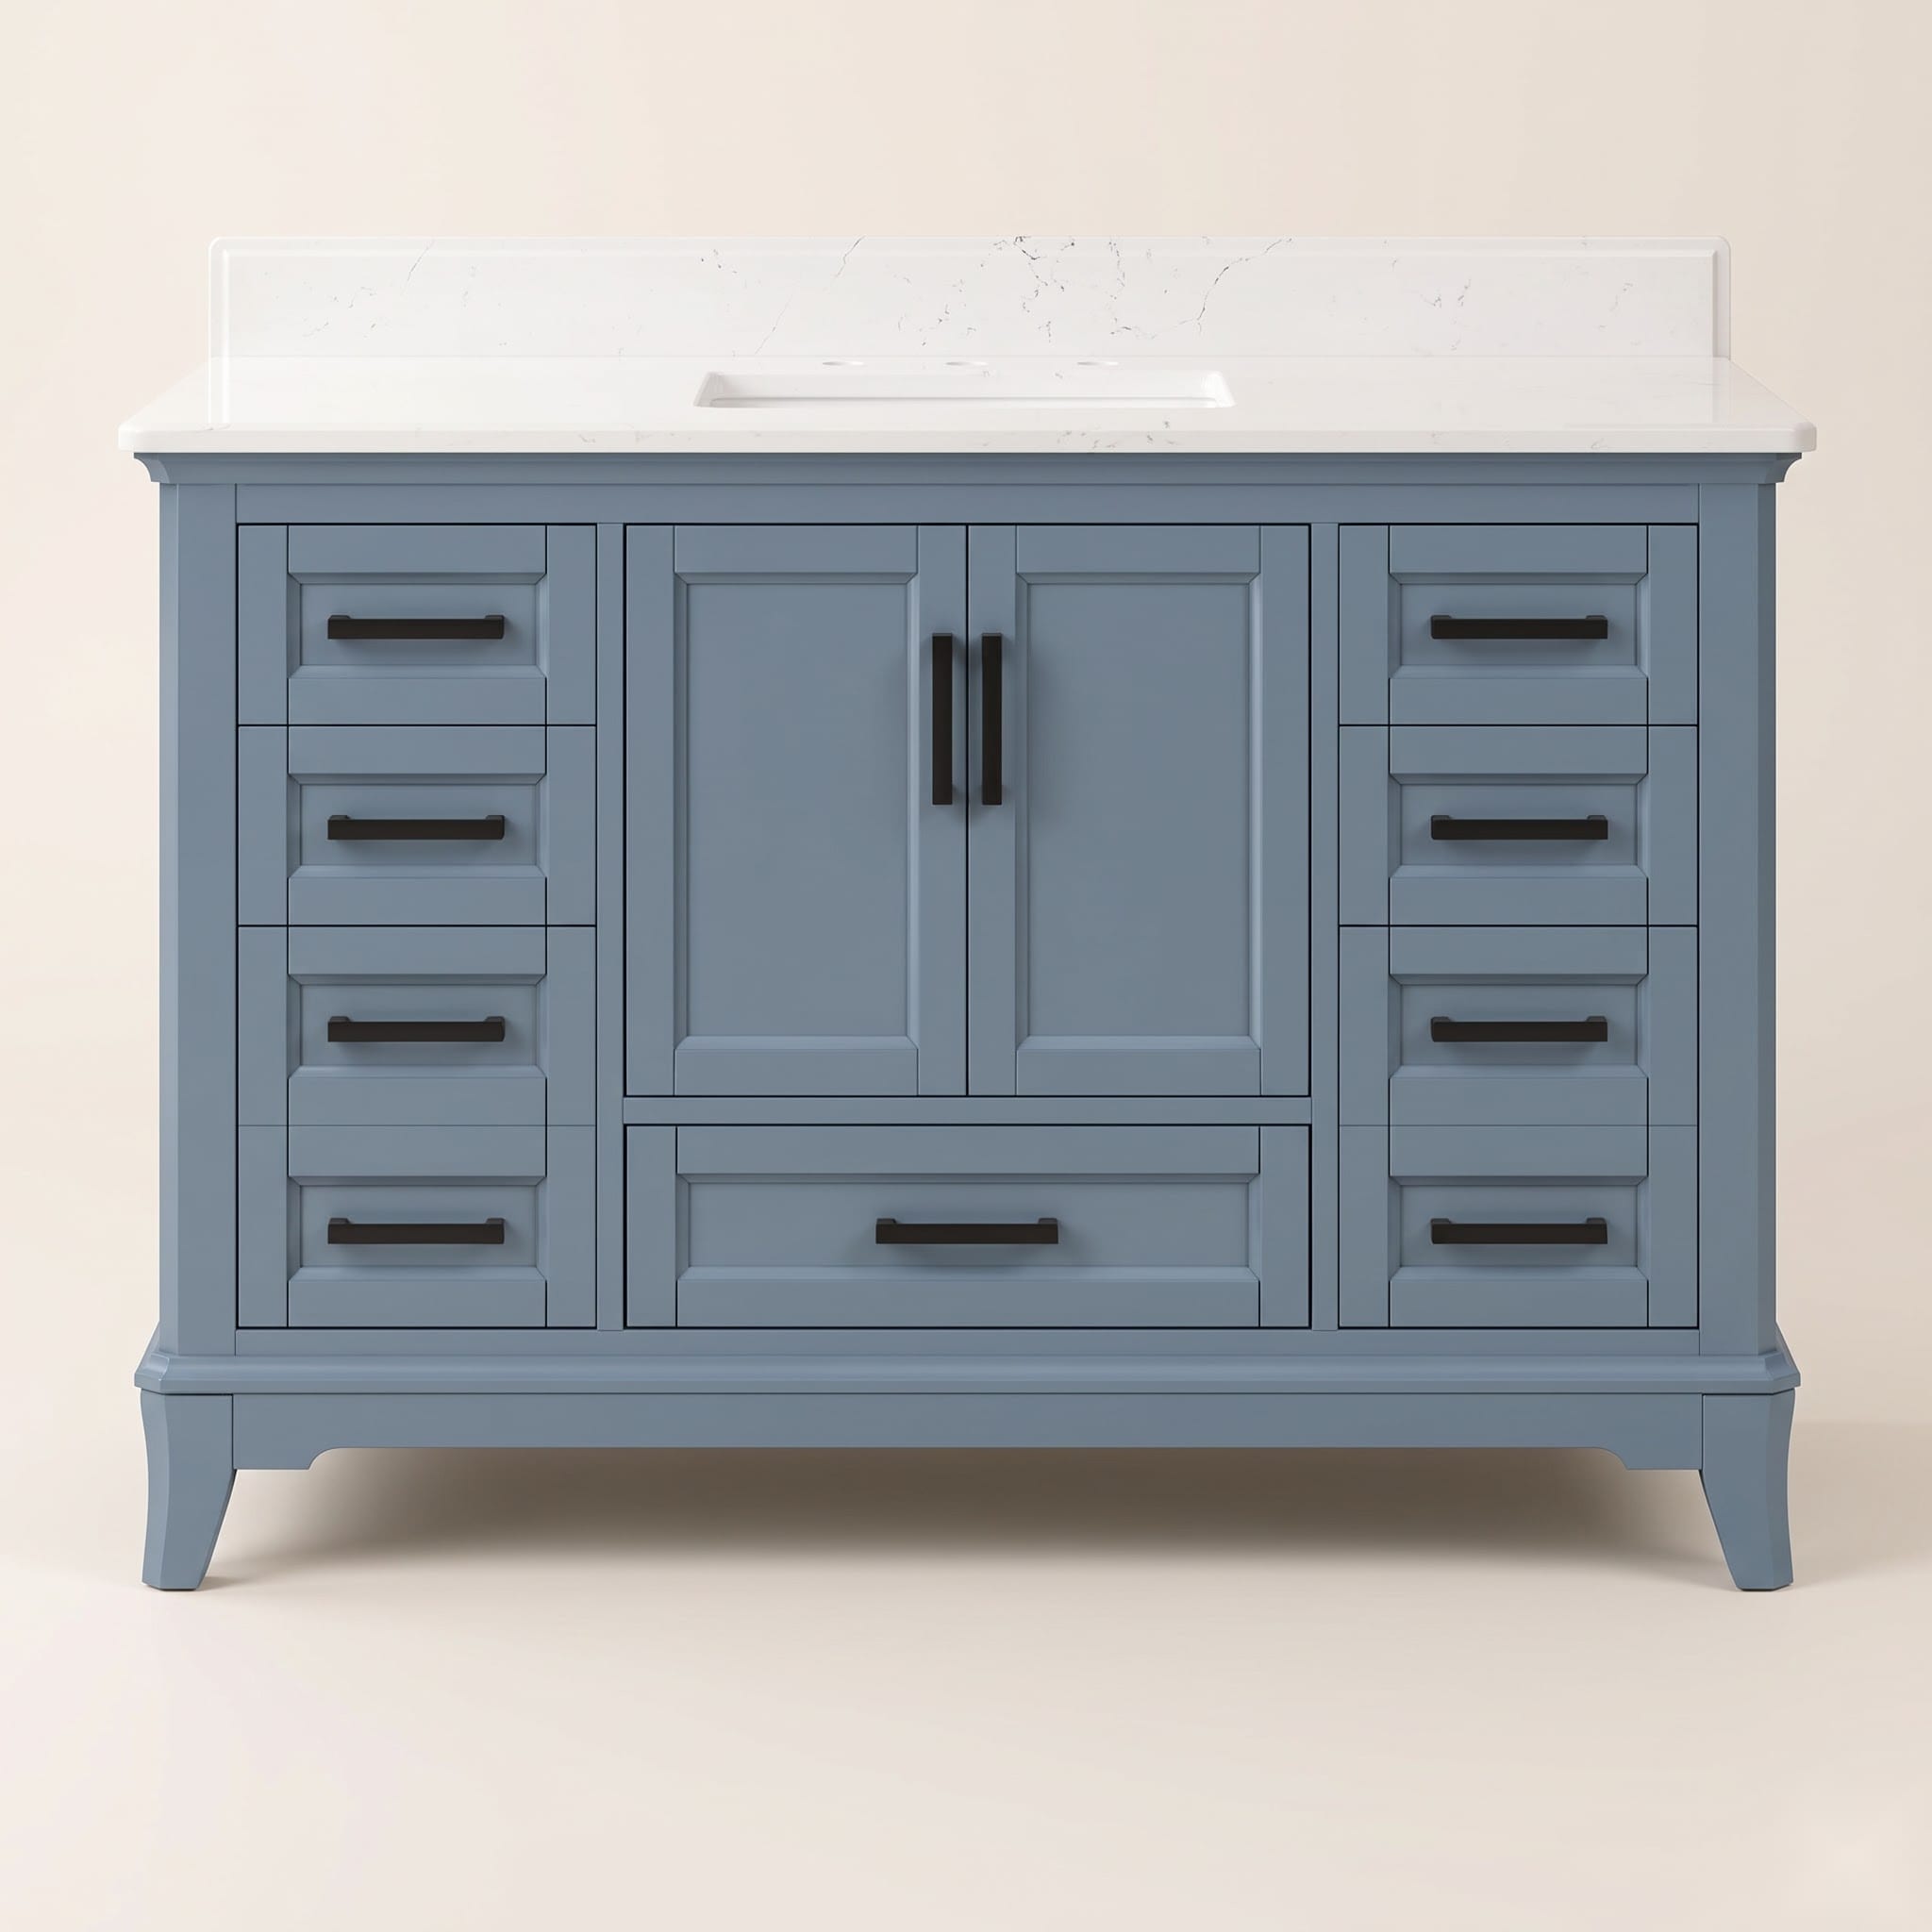
DELUXE LIVING 48-Inch Steel Blue Bathroom Vanity
The anchor cabinet in the shoppable vanity-lighting scene.
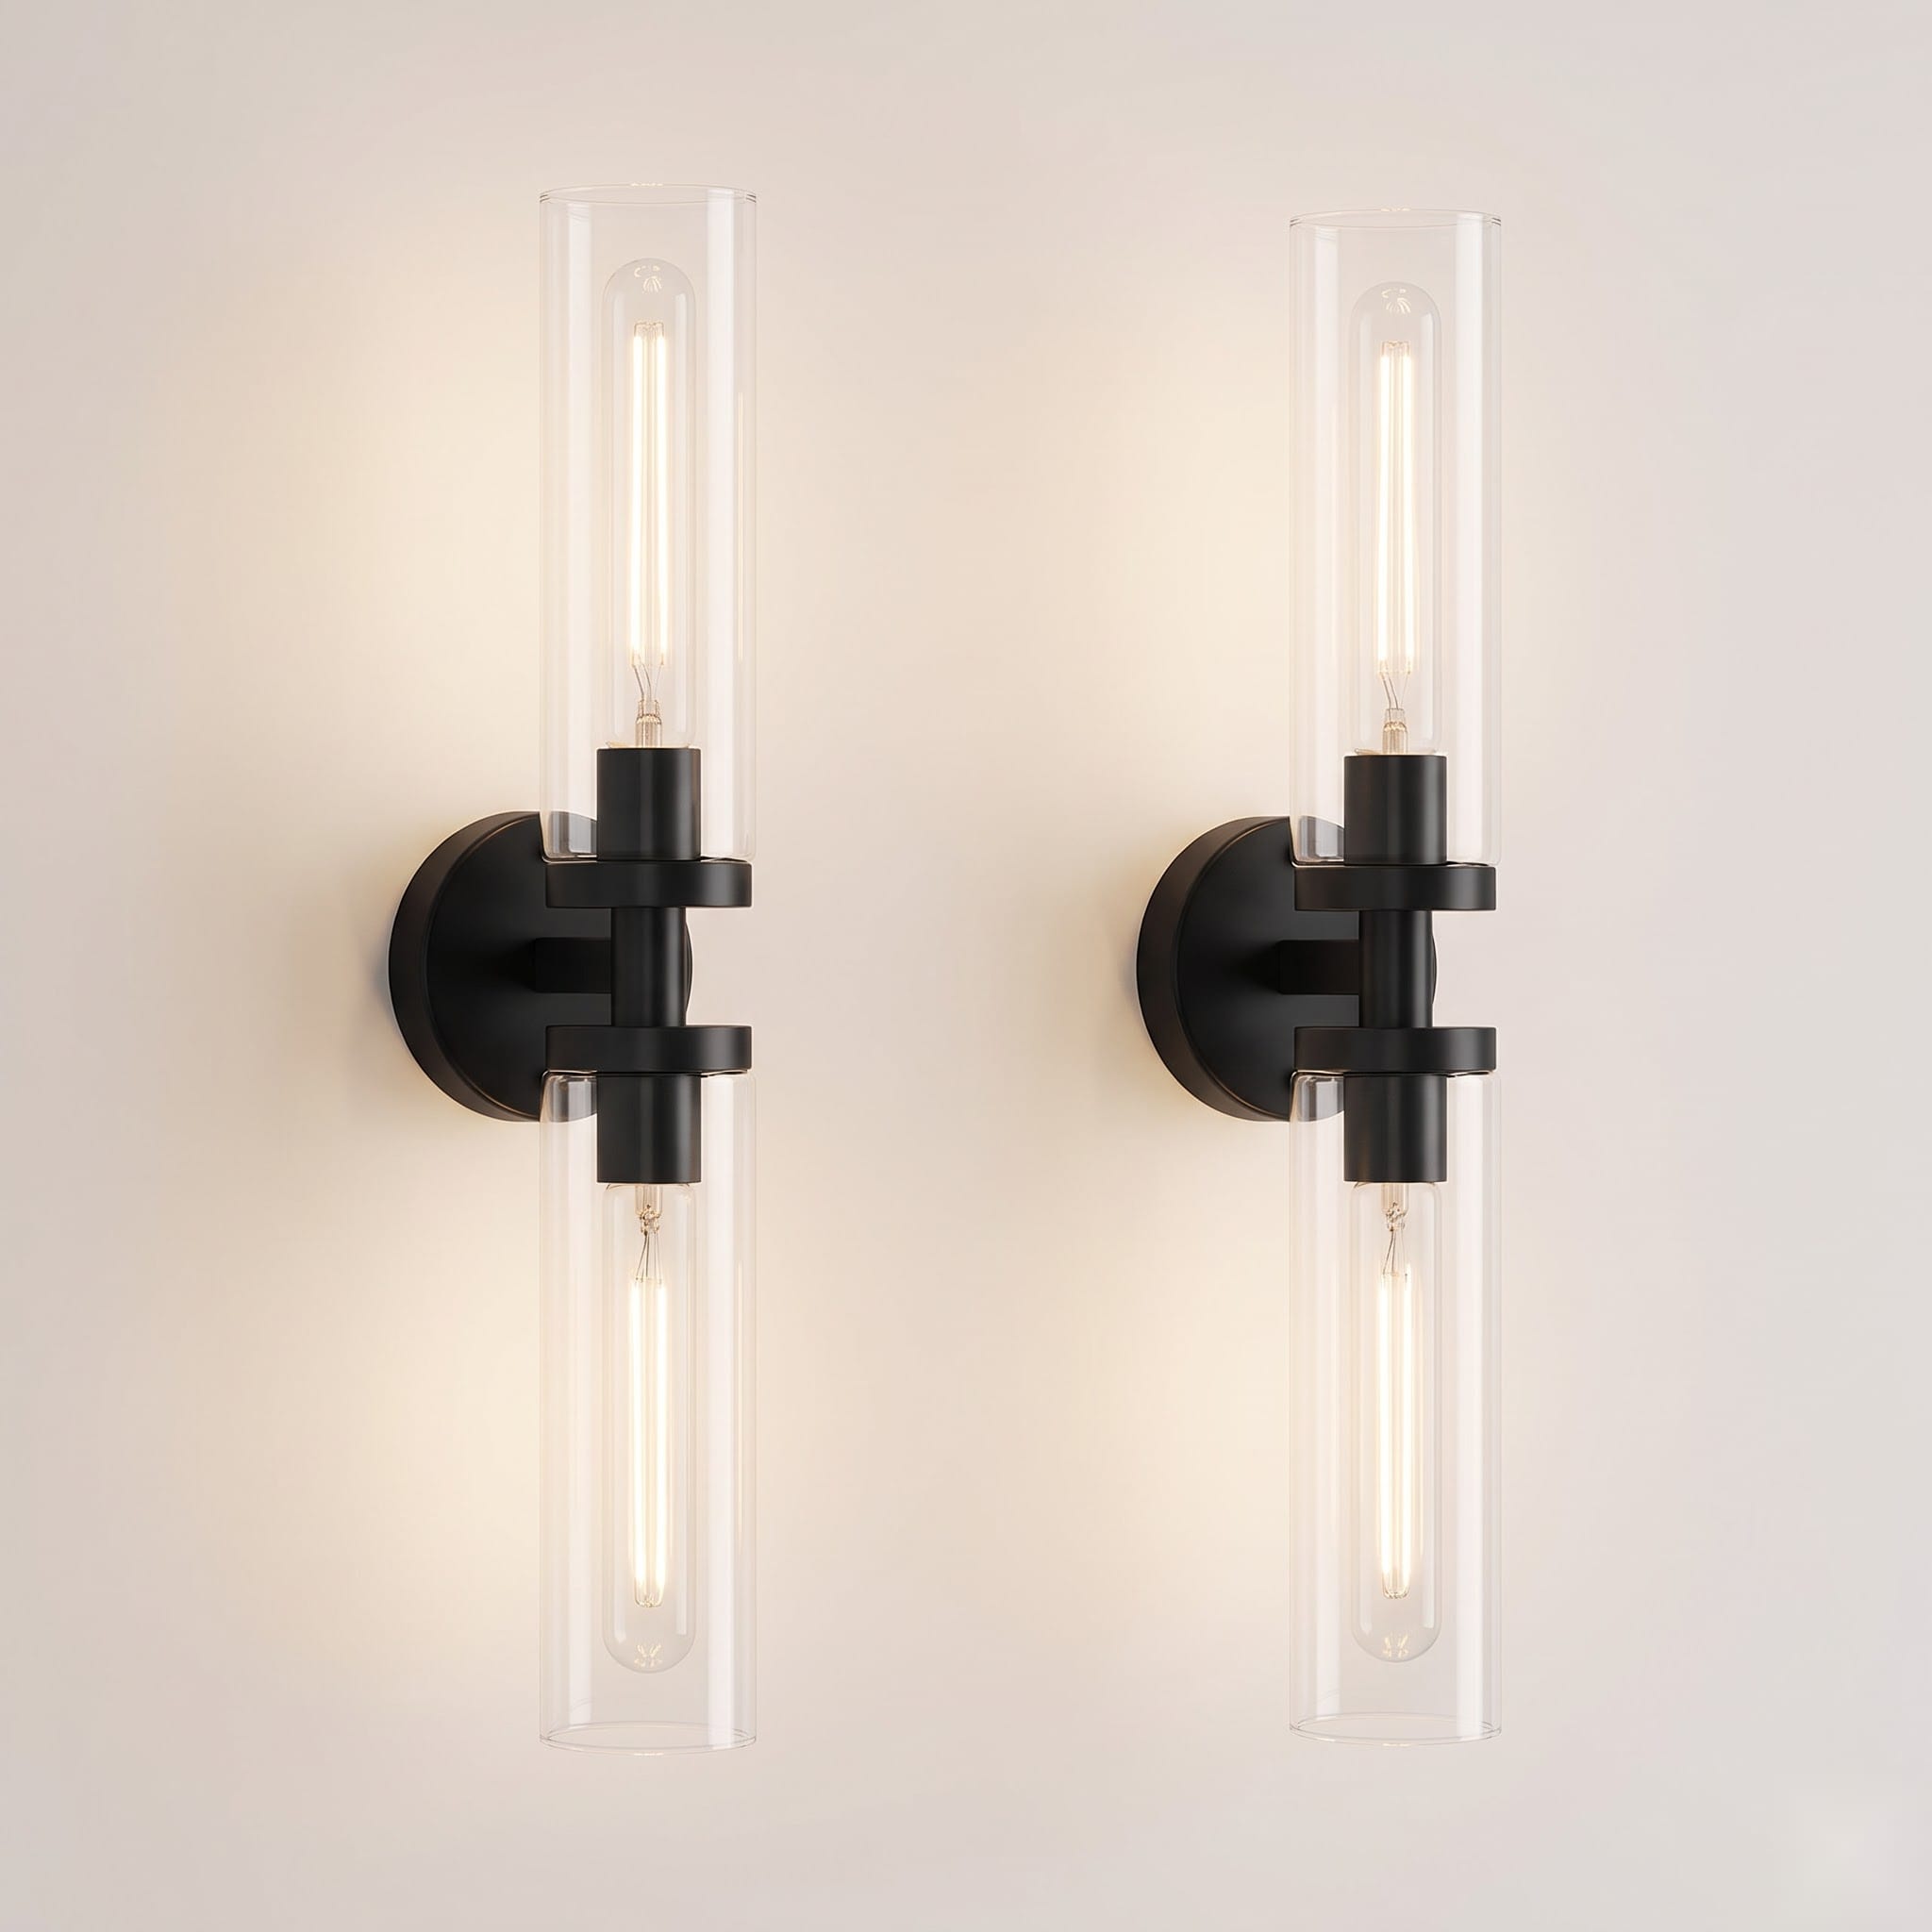
Indoi Matte Black Clear-Glass Wall Sconces — Set of 2
The side-lighting reference used beside the vanity mirror in this guide.
Indoi Matte Black Clear-Glass Wall Sconces — Set of 2
The side-lighting reference used beside the vanity mirror in this guide.
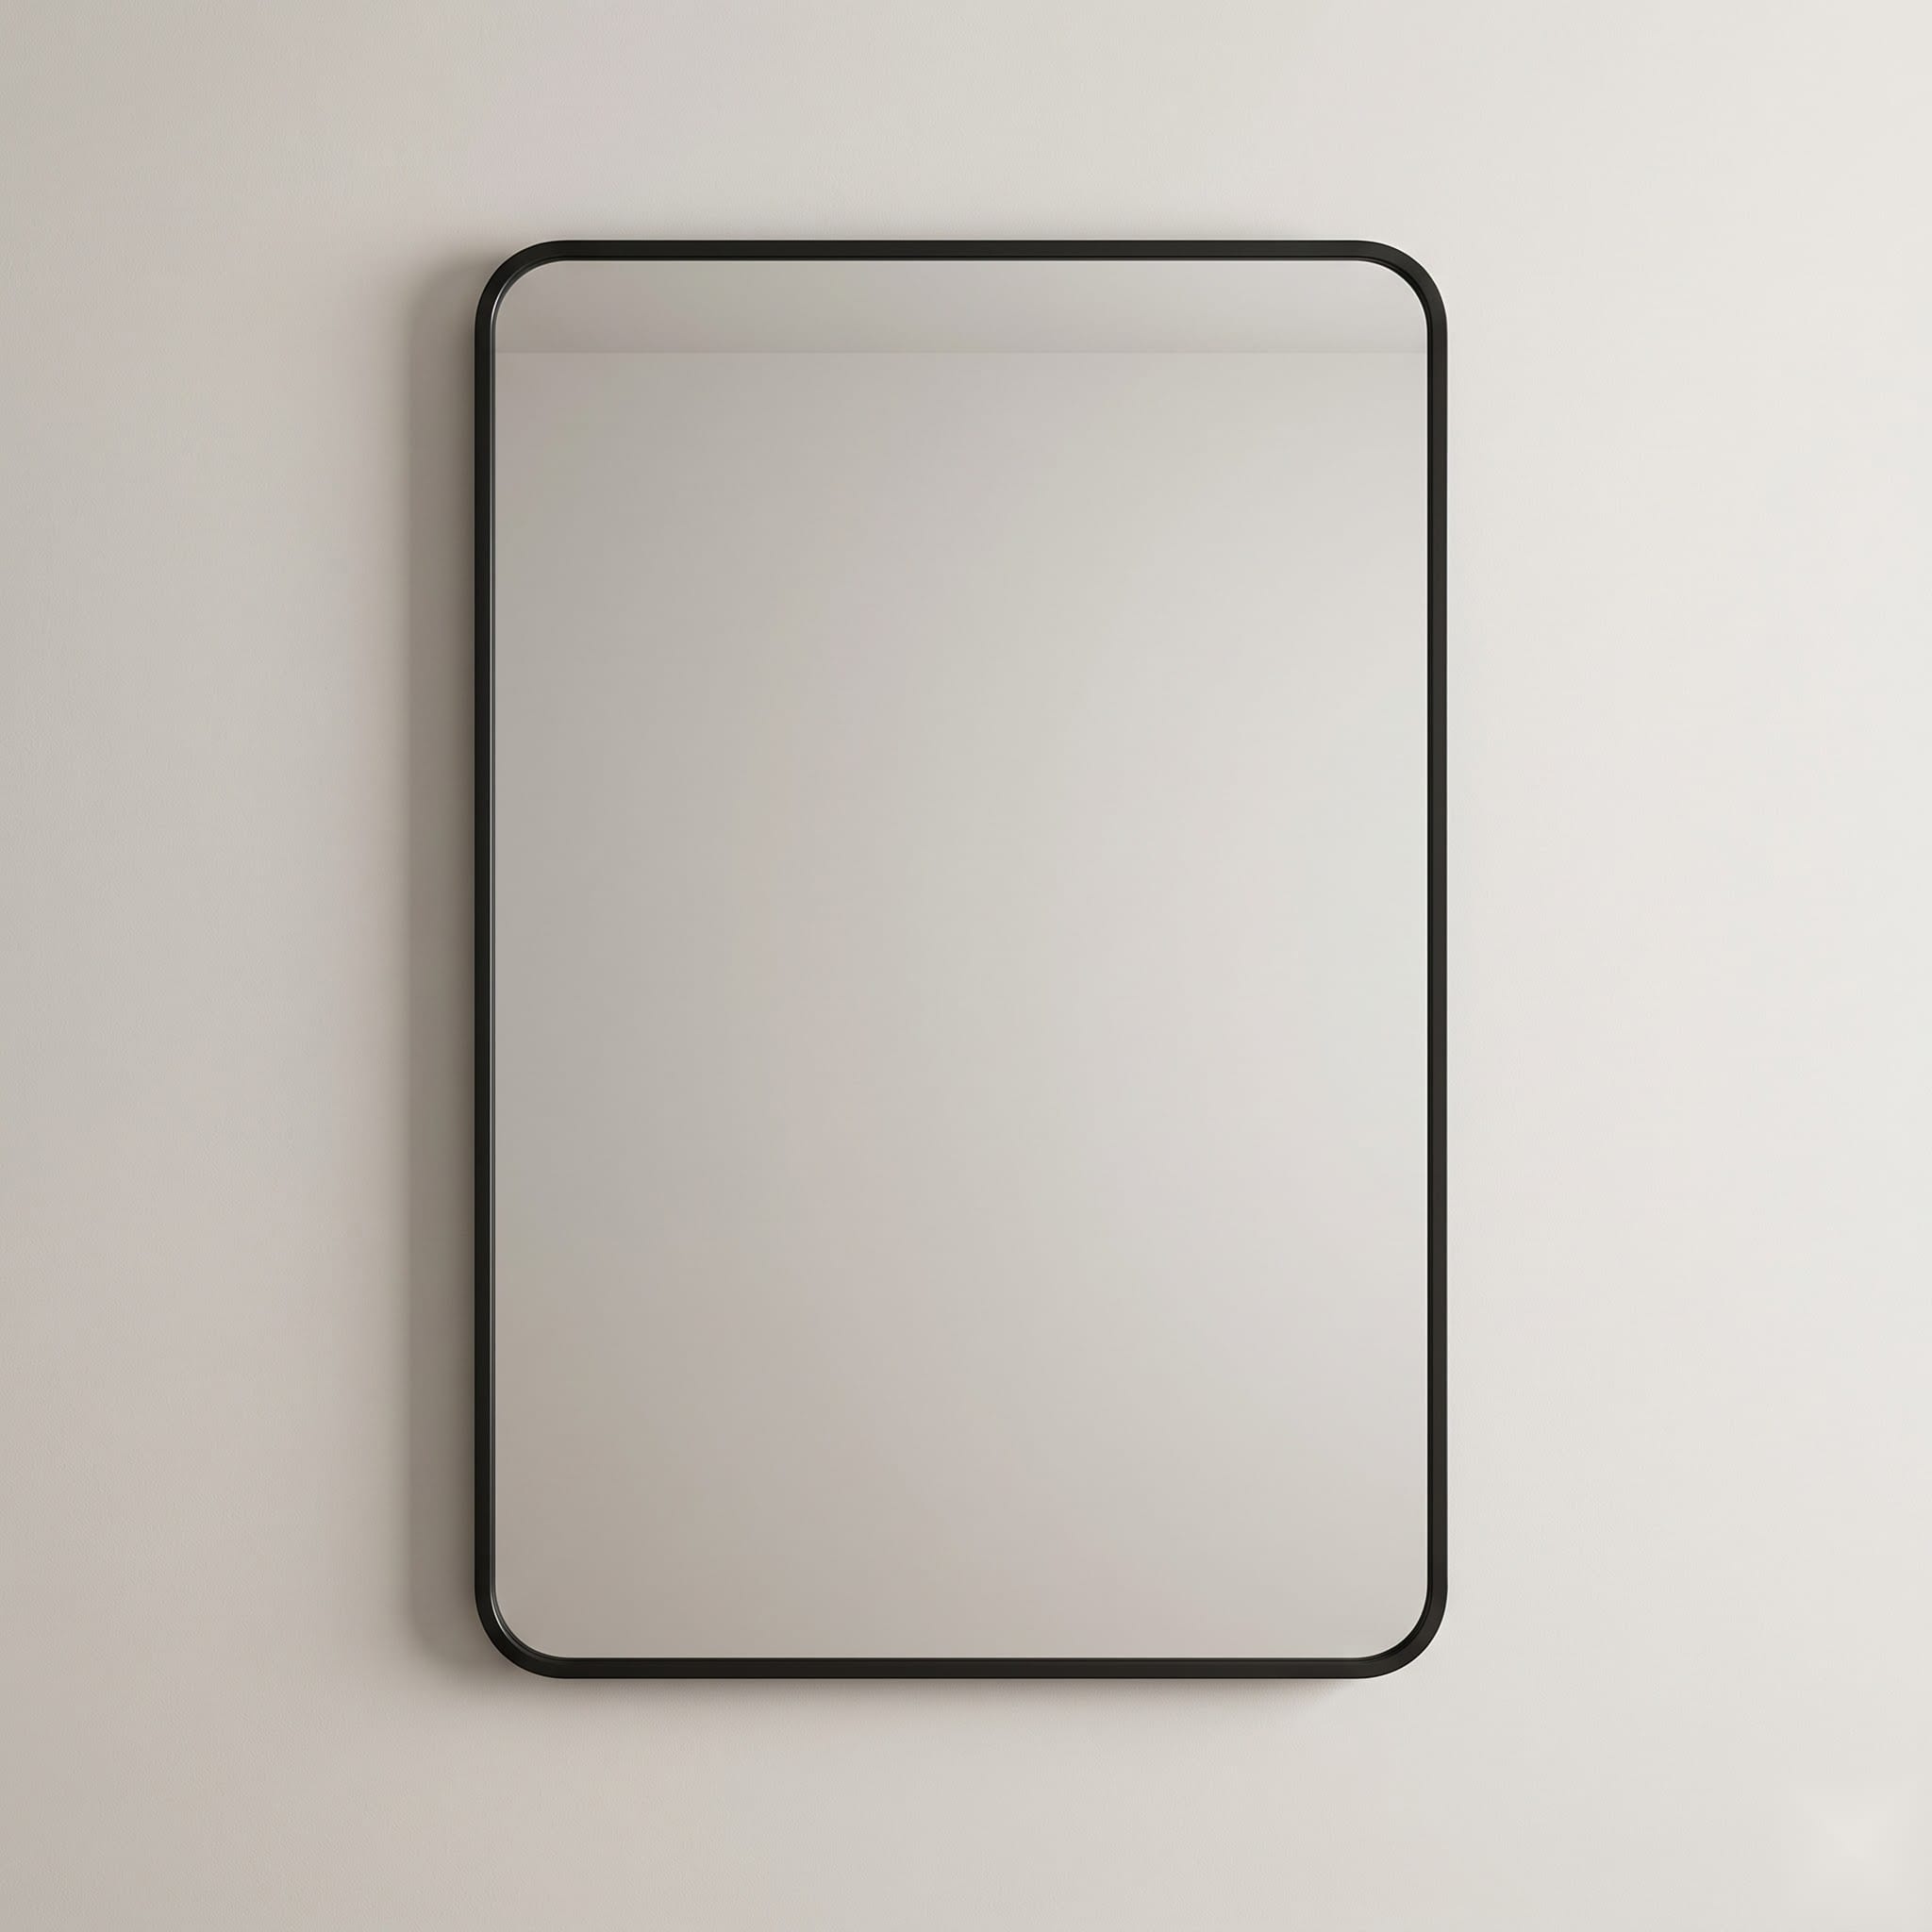
Delma 30 × 20-Inch Black Framed Vanity Mirror
The exact black-framed mirror used with the blue vanity and sconce pair in the shoppable scene.
A sourceable vanity wall with the shopping interaction kept invisible until it is requested.